
Key Takeaways:
- Understanding Different Lighting Types: Learn about key lights, fill lights, and backlights to create a professional setup.
- Choosing the Right Equipment: Discover the best ring lights, LED bulbs, and light panels for small spaces.
- Optimizing Your Setup: Tips on positioning lights to avoid harsh shadows and achieve flattering light for video calls.
Introduction
In today's digital age, having a well-lit home office is crucial, especially for video calls, video conferencing, and creating content. The right lighting can make a significant difference in how you appear on screen, ensuring you look professional and well-prepared.
This article will guide you through the best video lighting options for a small home office, helping you achieve great lighting without breaking the bank. Let's get started!
Understanding the Basics of Video Lighting
Key Light
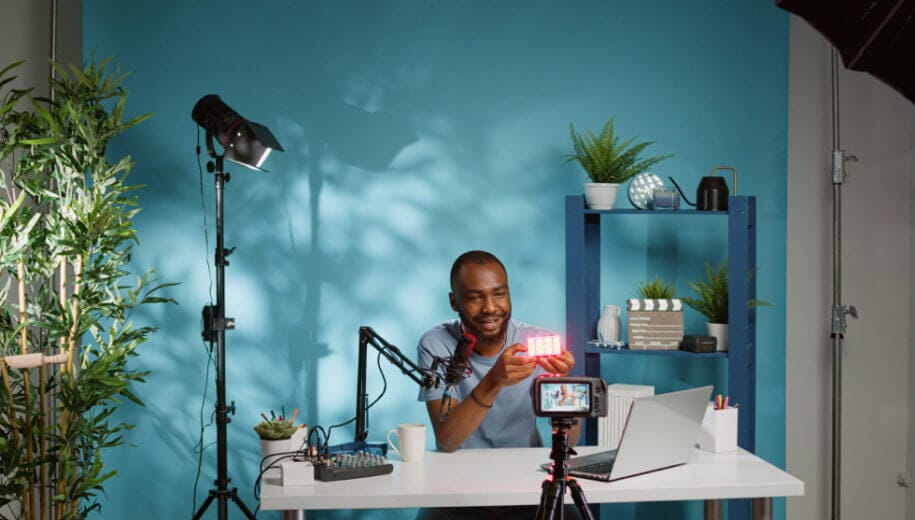
The key light plays a crucial role as the primary light source in your setup. Positioned at a 45-degree angle from your face, it serves to offer the main illumination.
This bright light is fundamental not only for brightening the subject but also for introducing depth and dimension, effectively ensuring that you are highlighted distinctly against the background.
Fill Light
The fill light, an essential component in lighting setups, serves the purpose of minimizing the shadows cast by the key light. Positioned opposite the key light, the fill light operates at a lower intensity level.
By doing so, it contributes to a balanced illumination, softening the visual appearance and ensuring that facial features are evenly lit, eliminating any stark or harsh shadows that may otherwise detract from the overall aesthetic.
Choosing the Right Equipment
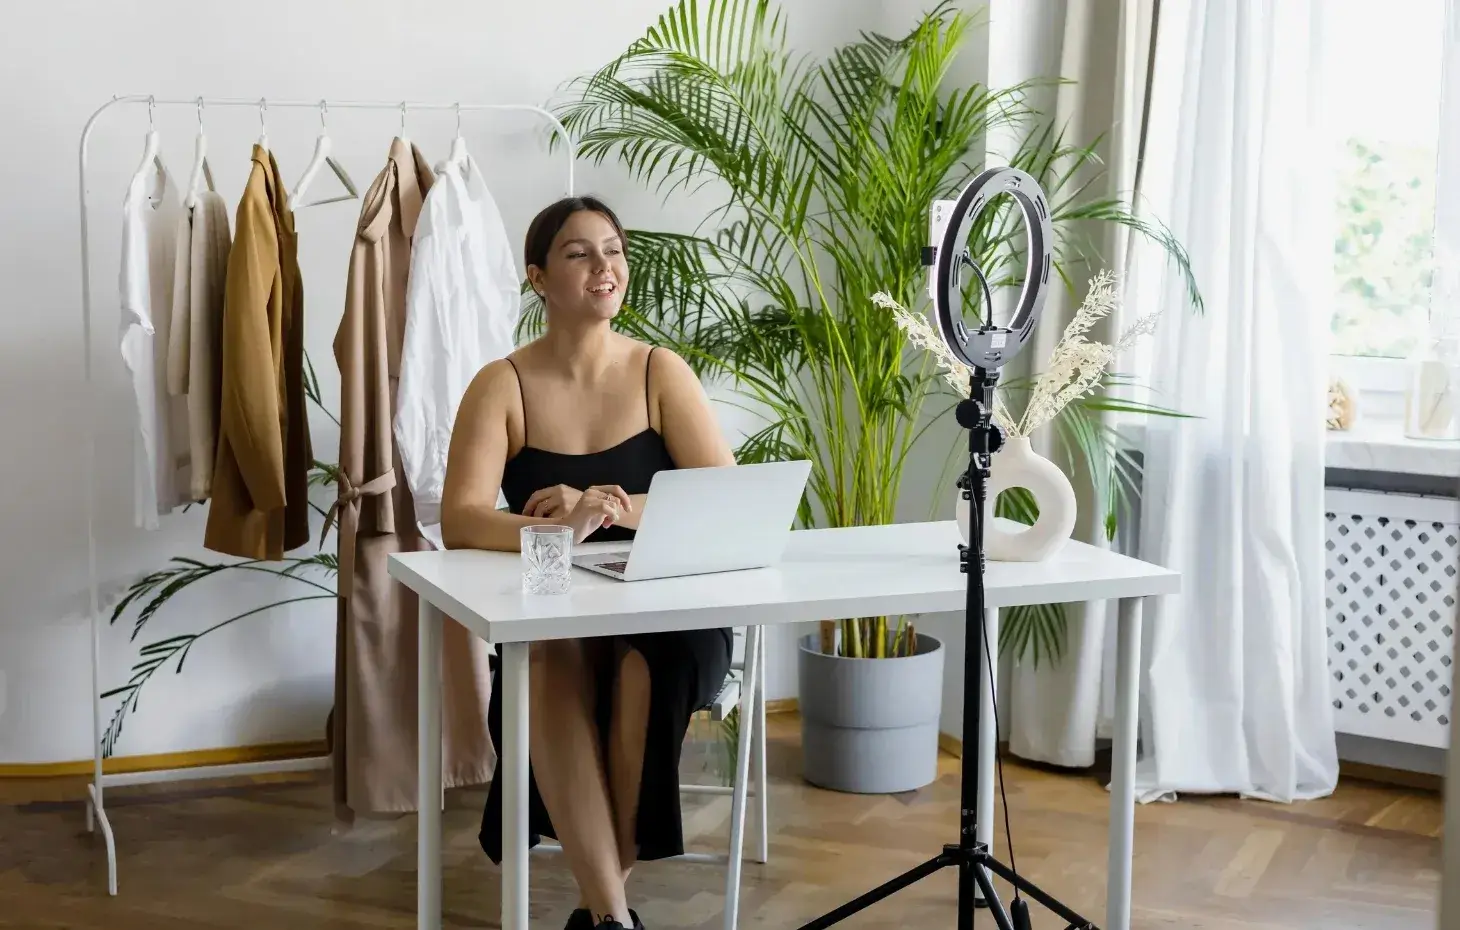
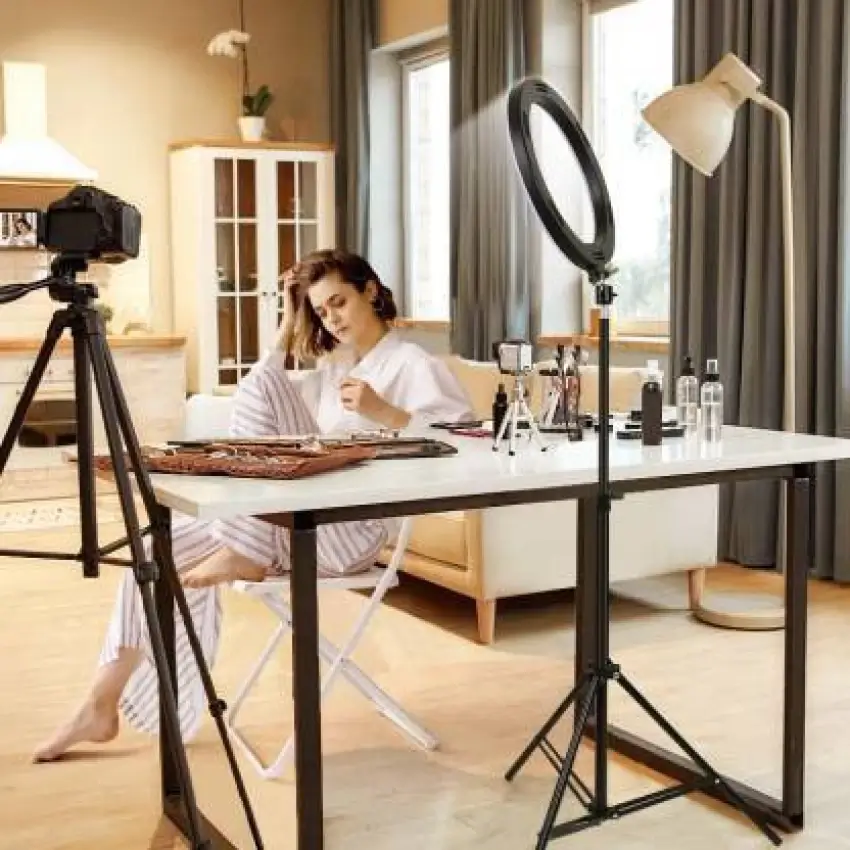
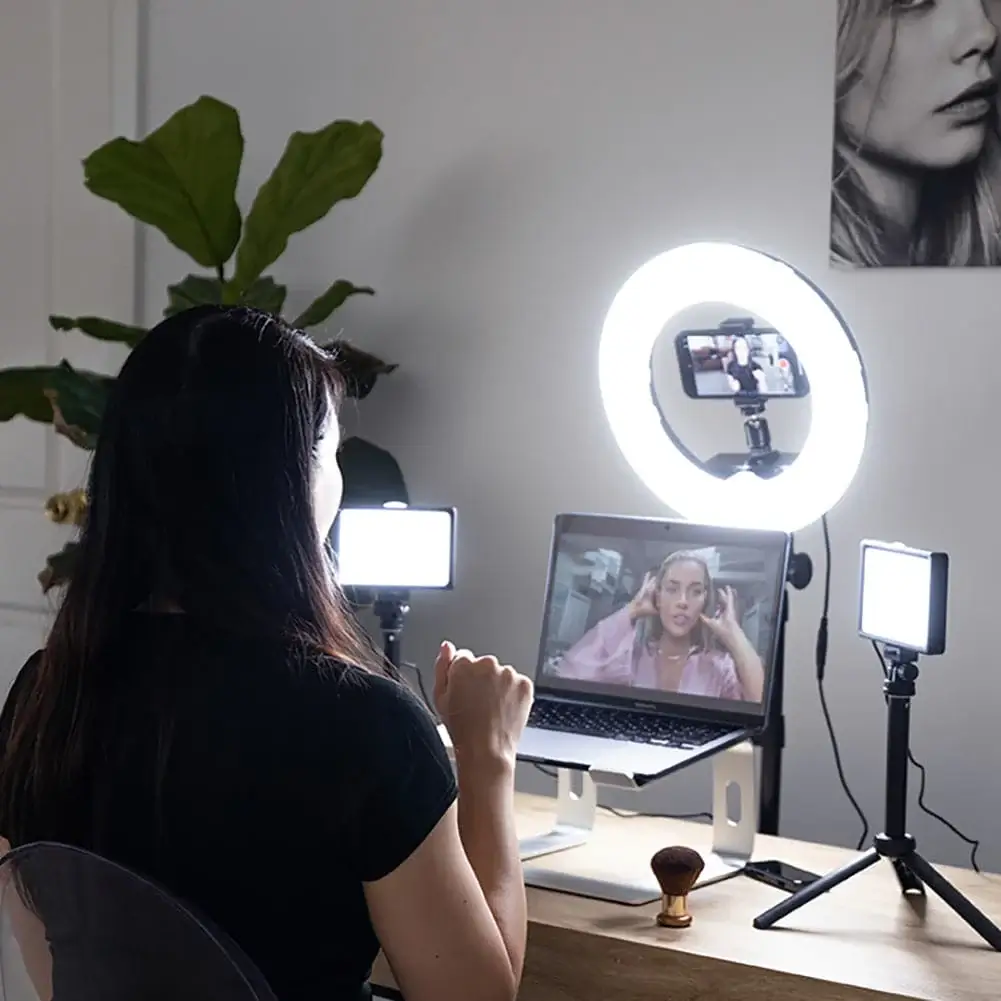
Ring Lights
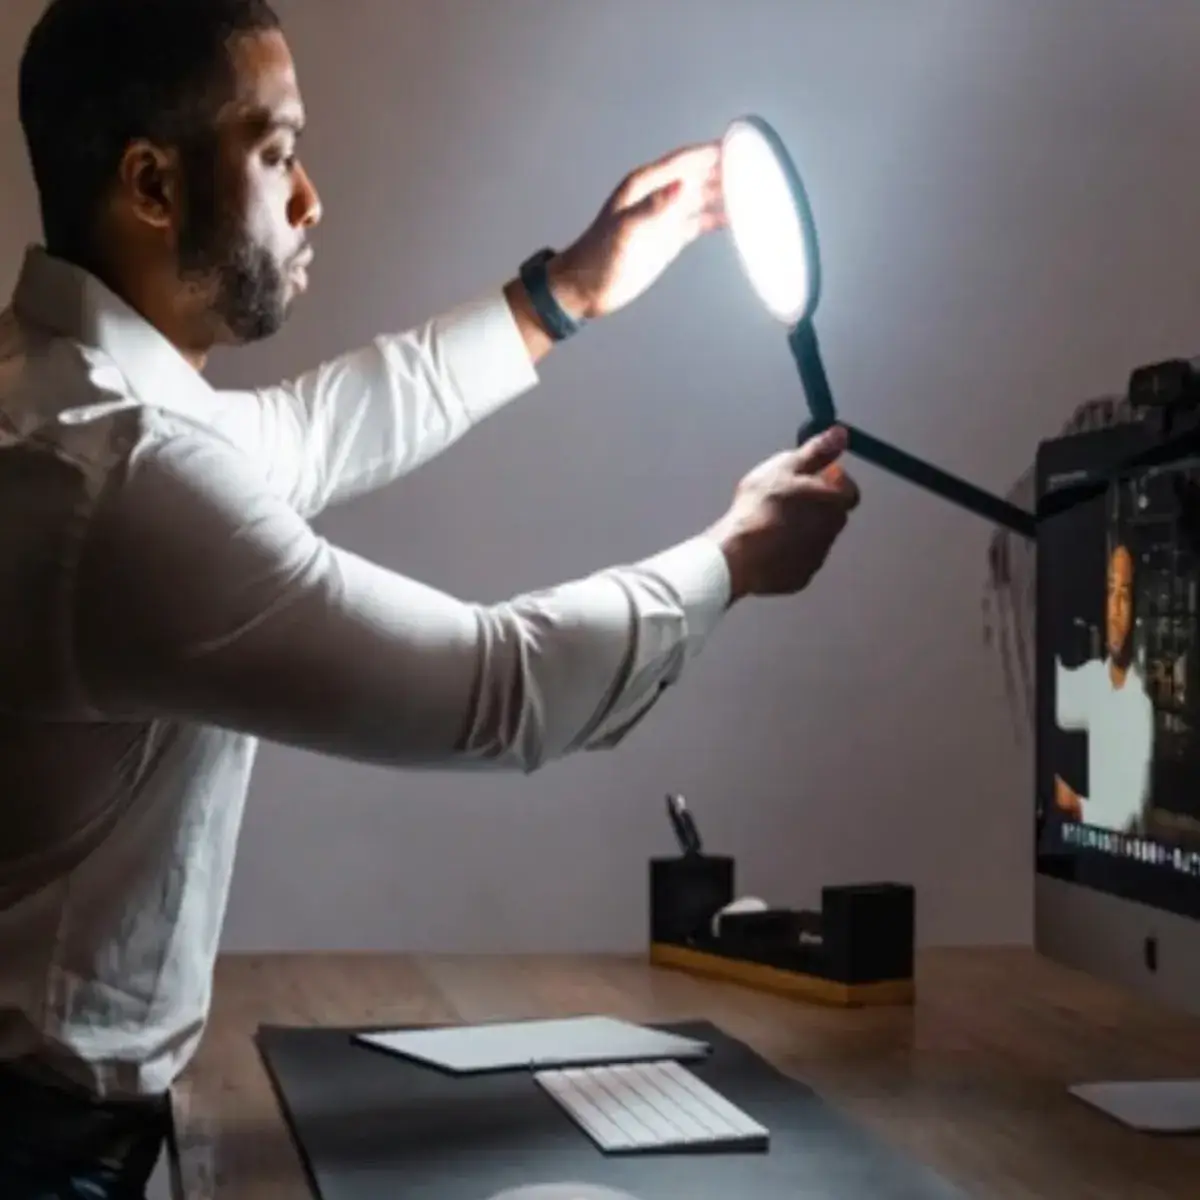
Ring lights have gained popularity for their exceptional ability to offer consistent, flattering light in various settings. Particularly beneficial for video calls and content creation, these lighting tools are a must-have for creators and professionals alike.
The top-notch ring lights boast adjustable brightness and color temperature settings, enabling users to customize the lighting according to their specific needs and preferences. This flexibility ensures that you can achieve the perfect lighting setup for any situation, whether it's a professional video shoot or a casual video call with friends.
LED Bulbs
LED bulbs are a popular choice due to their energy-efficient nature and ability to deliver bright, consistent light. Available in a wide range of color temperatures, from warm to cool tones, they offer versatility to cater to various lighting requirements.
When selecting LED bulbs, it is recommended to opt for ones with a high color rendering index (CRI) as they provide the most accurate color representation, ensuring your spaces are illuminated beautifully and true to color.
Optimizing Your Setup
Positioning Your Lights
Proper positioning of your lights is crucial to avoid harsh shadows and achieve a flattering look. When setting up your lighting, consider the intensity and color temperature of each light source to create the desired mood and ambiance.
The key light, placed at a 45-degree angle from your face, is the primary source of illumination, highlighting the subject's features. The fill light, positioned on the opposite side, helps to soften shadows and provide additional lighting to the scene.
For added depth and separation, a backlight can be strategically placed behind the subject to create a halo effect and enhance the overall visual appeal. Experimenting with different lighting setups can help you achieve the perfect lighting balance for your photos or videos.

Using Natural Light
Natural light can be a great addition to your lighting setup. Position your desk near a window to take advantage of window light. However, be mindful of the time of day and the direction of the light to avoid harsh lighting conditions.
Different Lighting Setups
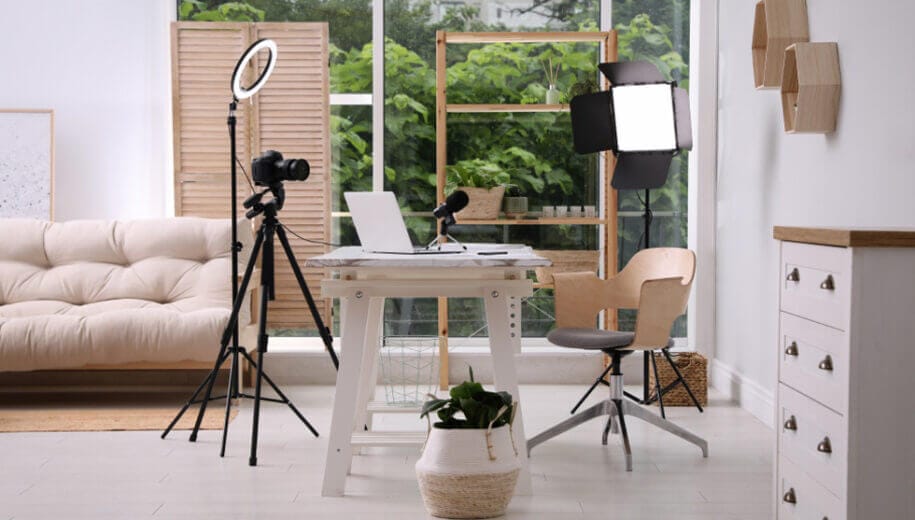
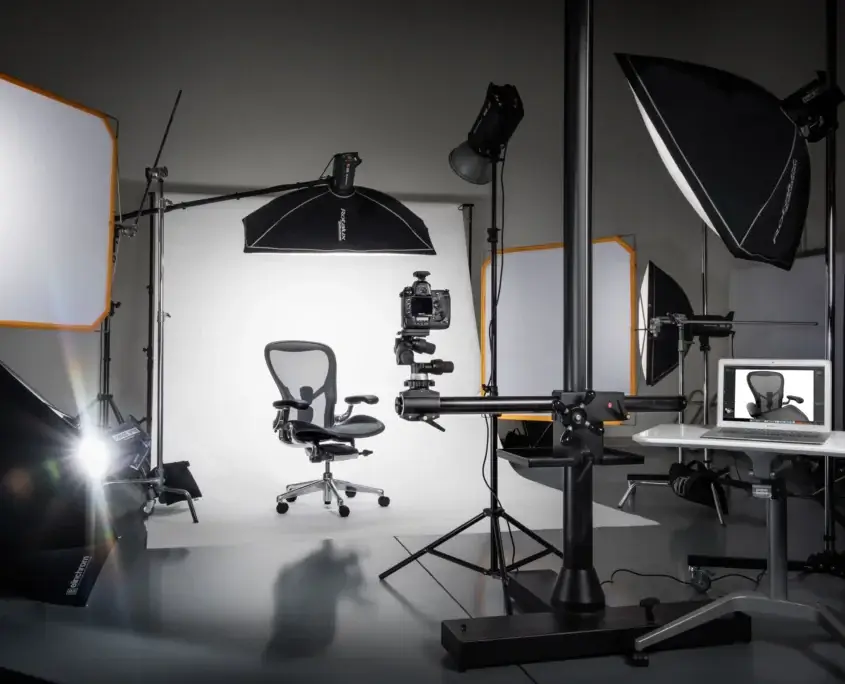
Three-Point Lighting Setup
A three-point lighting setup, a cornerstone in lighting techniques, comprises a key light, fill light, and backlight. The key light is the primary light source that illuminates the subject; the fill light softens shadows; and the backlight adds depth and separation from the background.
This lighting arrangement is widely favored in photography, cinematography, and video production for its ability to deliver well-balanced illumination, eliminate harsh shadows, and elevate the overall visual quality, making it a go-to choice for achieving a professional look in various settings, including video recording, live streaming, and video conferencing.
Two-Point Lighting Setup
A two-point lighting setup includes a key light and a fill light. This setup is simpler and works well for smaller spaces. It provides good lighting without the need for a backlight, making it easier to manage in a small home office.
Enhancing Light Quality
Soft Light
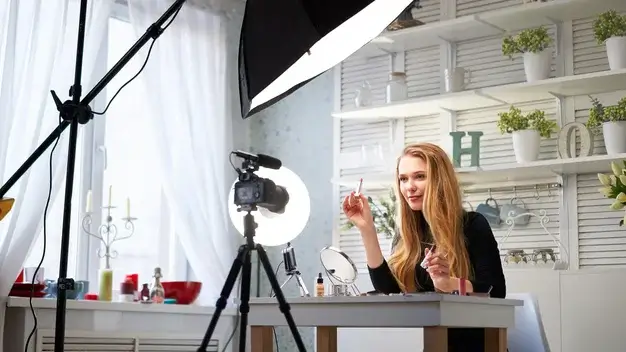
Soft light is crucial for achieving a flattering appearance in photography or videography. By minimizing harsh shadows and ensuring uniform illumination, soft light can enhance the overall quality of your images or footage.
To achieve this effect, think about using diffusers or softboxes to soften the light that your key and fill lights emit, giving your visual content a more appealing and polished aesthetic.
Adjustable Brightness
Having lights with adjustable brightness is a beneficial feature that enables you to customize the lighting according to your specific preferences.
This flexibility proves to be particularly advantageous during video calls and virtual meetings, where lighting requirements may vary based on the time of day and surrounding conditions.
Practical Examples
Case Study: Sarah's Home Office
Sarah, a talented freelance graphic designer, faced challenges with poor lighting conditions in her cozy home office space. Determined to enhance her workspace, she decided to invest in a high-quality ring light and an LED bulb with adjustable brightness settings.
By strategically positioning the ring light as her key source of illumination and the LED bulb as a supplementary fill light, Sarah successfully transformed her video calls and content creation sessions.
The new lighting setup not only improved the visual quality of her work but also boosted her confidence during virtual meetings and creative projects.
Case Study: Mark's Video Conferencing Setup
Mark, a dedicated remote worker, found himself in search of an optimal lighting arrangement to enhance his video conferences. After careful consideration, he decided to implement a three-point lighting system.
This setup consisted of a key light positioned directly in front of him to illuminate his face, a fill light to soften shadows on the side, and a backlight to separate him from the background. By strategically using this setup, Mark achieved a well-balanced illumination that not only eliminated harsh shadows but also exuded a professional appearance during his online meetings.

Tips for Small Spaces
Utilizing Existing Lamps
If you find yourself constrained by limited space in your setting, a creative solution is to repurpose existing lamps as a pivotal component of your lighting arrangement. Thoughtfully position these lamps to function effectively as both key and fill lights, ensuring optimal illumination.
To enhance the quality of light emitted, consider incorporating frosted lenses or diffusers. These additions serve to diffuse the light, creating a soft and gentle glow while mitigating the presence of harsh shadows within your space.
Smart Bulbs
Smart bulbs have revolutionized the way we control lighting in our homes. With the flexibility of adjusting both brightness and color temperature settings, these innovative bulbs cater to creating the perfect ambiance for any occasion.
The ease of controlling them through smartphone apps provides a seamless experience, eliminating the hassle of using extra equipment. Embrace the convenience and versatility of smart light bulbs to transform your living spaces with just a tap on your phone.
Avoiding Common Mistakes
Harsh Lighting
Harsh lighting can be a major concern, particularly in photography, where unflattering shadows and a washed-out appearance can detract from the overall quality of the image.
To address this, photographers often turn to diffusers or softboxes to help soften the light source and create a more pleasing, natural look.
By utilizing these tools effectively, you can enhance the visual appeal of your photographs and achieve a professional result that is both flattering and engaging.
Incorrect Color Temperature
Using the wrong color temperature in your video production can significantly impact the overall visual quality. It is crucial to aim for a color temperature that harmonizes with the natural light in your filming environment.
For a cozy and inviting ambiance, opt for warm light at around 2700K. In contrast, if you are looking to achieve a bright and professional appearance, consider using cool light with a temperature of around 5000K. By paying attention to these details, you can enhance the visual appeal and effectiveness of your videos.
Advanced Techniques
Rim Light
A rim light, strategically positioned behind you, serves the purpose of generating a captivating halo effect around your head and shoulders.
This additional light source not only introduces depth but also enhances visual appeal, effectively ensuring that you are highlighted distinctively against the backdrop.
Light Panels
Light panels are incredibly versatile lighting solutions that offer uniform illumination in various settings. These panels are particularly well-suited for compact spaces due to their sleek design, and they can be conveniently mounted on light stands or attached to your desk for added flexibility.
When selecting light panels, consider opting for models with adjustable brightness and color temperature settings. This feature allows you to have complete control over the ambiance and mood of your space, ensuring that your lighting setup perfectly suits your needs and preferences.
Conclusion
Achieving the best video lighting for a small home office doesn't have to be complicated or expensive.
By understanding the basics of video lighting, choosing the right equipment, and optimizing your setup, you can create a professional and flattering look for your video calls, video conferencing, and content creation.
Remember to experiment with different setups and fine-tune the lighting to suit your needs.
Summary
In this comprehensive article, we delved into the realm of optimal video lighting solutions tailored for a compact home office setting. Our exploration encompassed fundamental concepts of video lighting, shedding light on key aspects like key lights for primary illumination, fill lights for balancing shadows, and backlights for depth and separation.
Additionally, we emphasized the significance of selecting suitable tools, such as versatile ring lights and energy-efficient LED bulbs. Furthermore, we generously shared practical examples and expert tips to assist you in fine-tuning your lighting setup to perfection.
By meticulously following these meticulously crafted guidelines, you are poised to achieve exceptional lighting conditions and project a thoroughly professional image on screen.
FAQ
What is the best type of light for video calls?
The best light for video calls is a ring light or an LED bulb with adjustable brightness and color temperature settings. These lights provide even, flattering illumination and can be easily adjusted to suit your needs.
How can I avoid harsh shadows in my video setup?
To avoid harsh shadows, use a fill light to reduce the shadows created by the key light. Additionally, use diffusers or softboxes to soften the light and create a more natural look.
What color temperature is best for video conferencing?
For video conferencing, a color temperature of around 5000K is ideal. This cool light provides a bright, professional appearance and matches the natural light in most rooms.
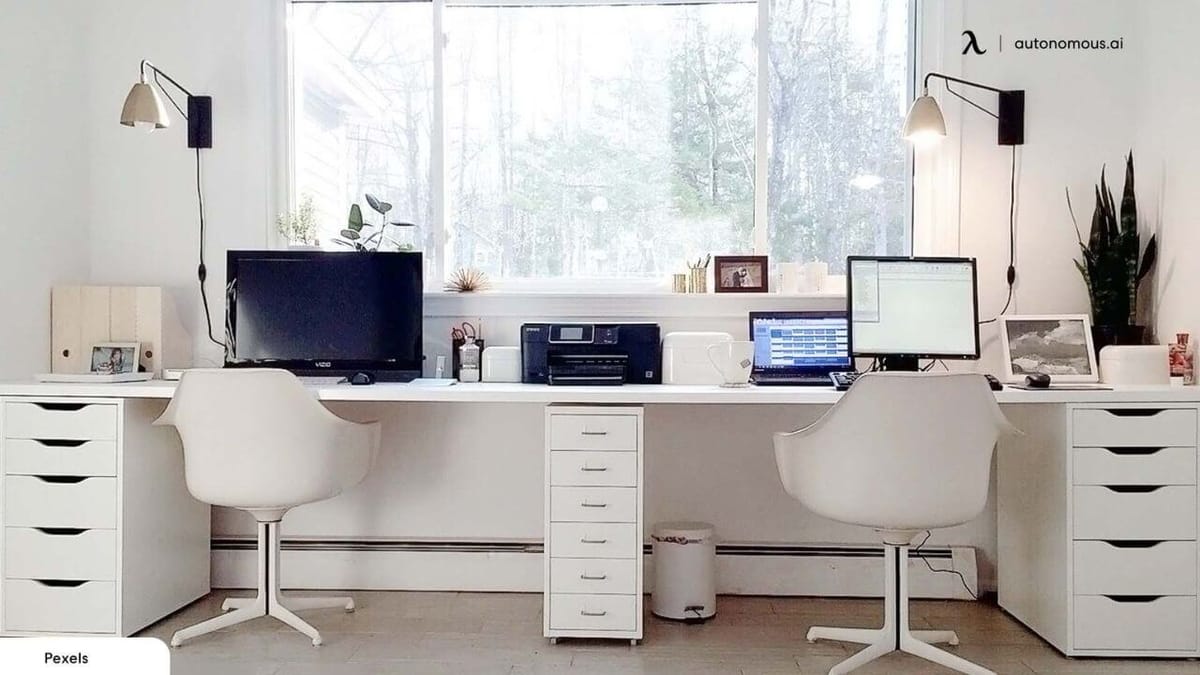
Check out this article for a modern home office desk for your video setup!
 Ashton Tucker
 Ashton Tucker
 Ashton Tucker
 Ashton Tucker
 Ashton Tucker
 Ashton Tucker
 Ashton Tucker
 Ashton Tucker
 Ashton Tucker
 Ashton Tucker
 Ashton Tucker
 Ashton Tucker
 Ashton Tucker
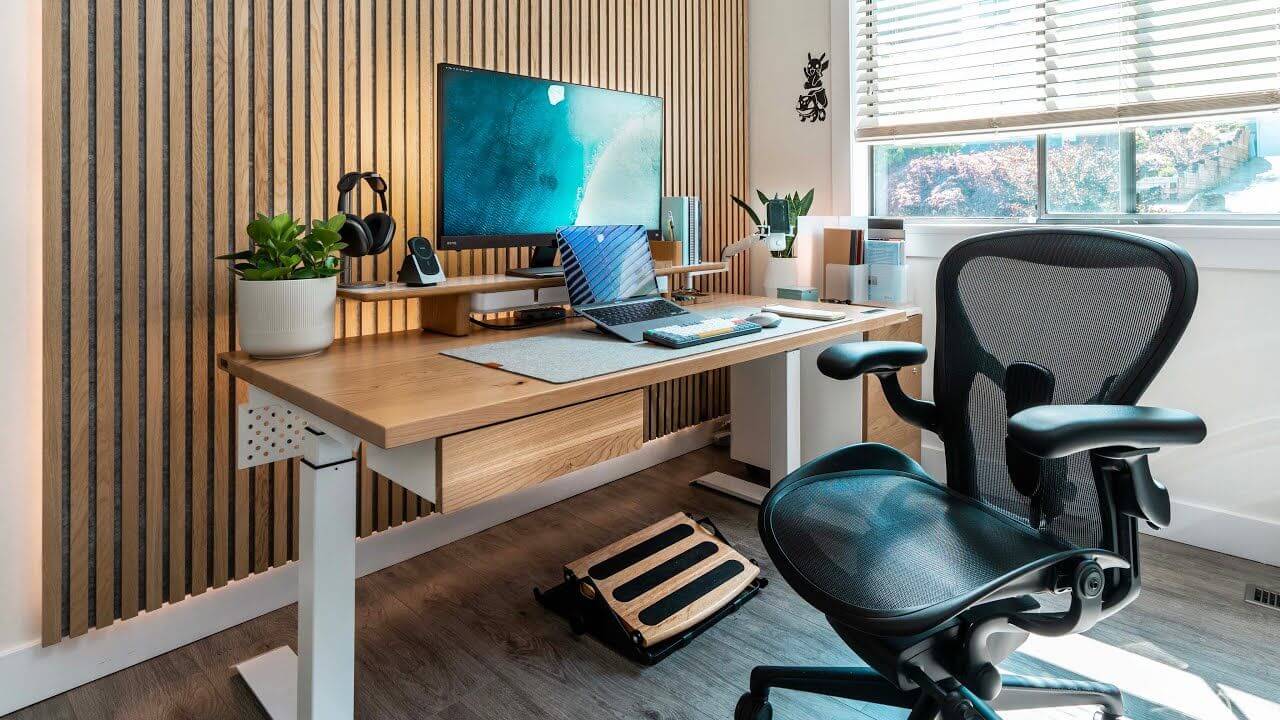 Ashton Tucker
 Ashton Tucker
 Ashton Tucker
 Ashton Tucker