
Key Takeaways:
- Learn to repurpose old jeans into a comfortable tailbone (donut) pillow.
- Discover the materials and tools needed for this super-easy craft project.
- Gain practical sewing tips to ensure your homemade pillow is both adorable and durable.
Are you looking for a creative and practical way to reuse those old jeans lying around in your closet? Why not transform them into a supportive tailbone pillow? Not only is this project super easy, but it also adds a touch of personalized charm to your home.
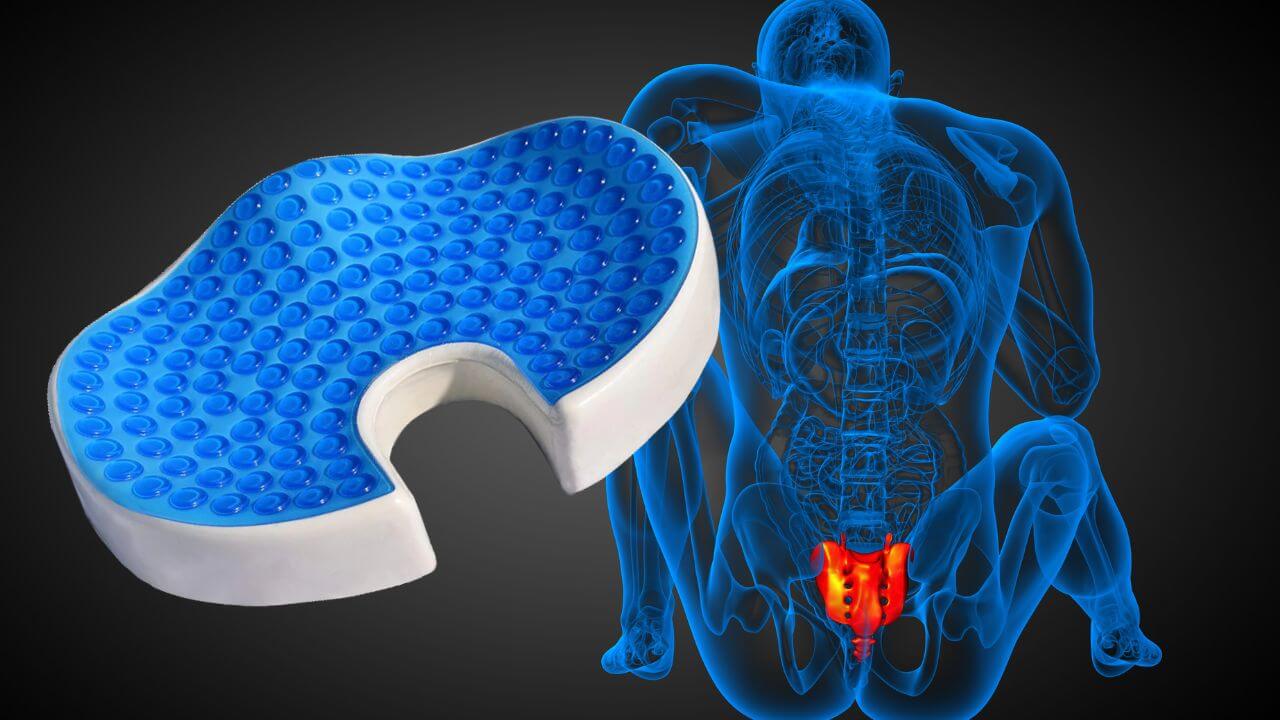
This informative article will guide you through the steps to create your very own butt pillow, perfect for protecting your tailbone and adding a unique flair to your couch or bed.
Gathering Your Supplies
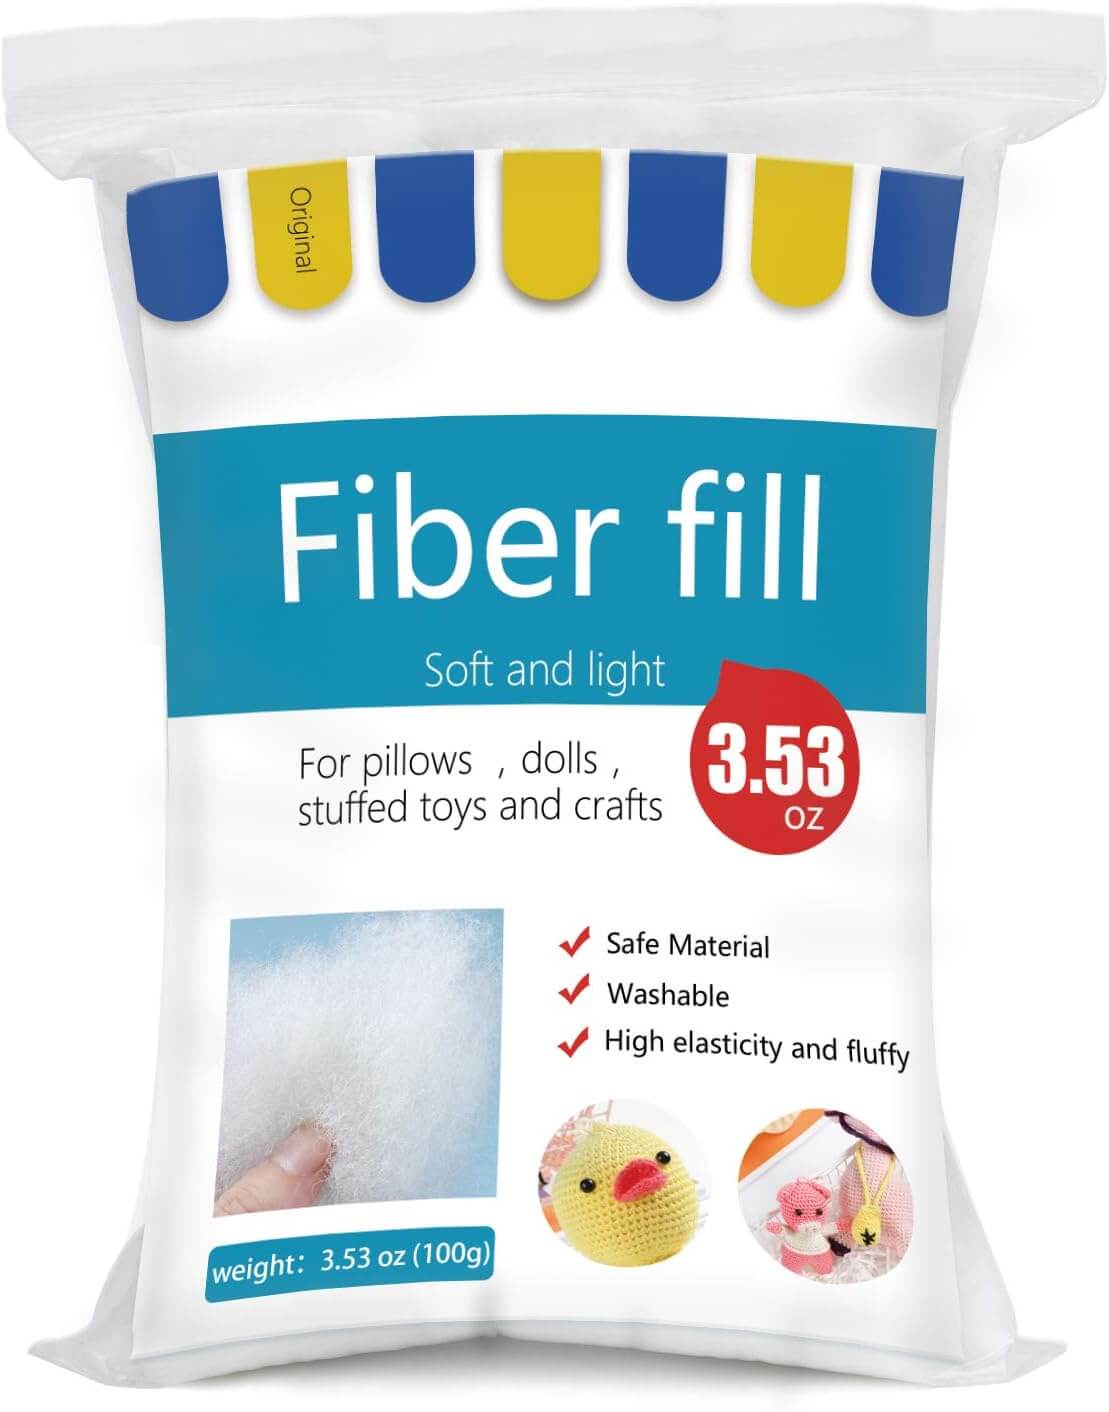
Before diving into the project, it's essential to gather all the necessary supplies. You'll need a pair of jeans, preferably in a size that will give you enough fabric to work with. Additionally, you'll need pillow stuffing to give your cushion the desired plumpness.
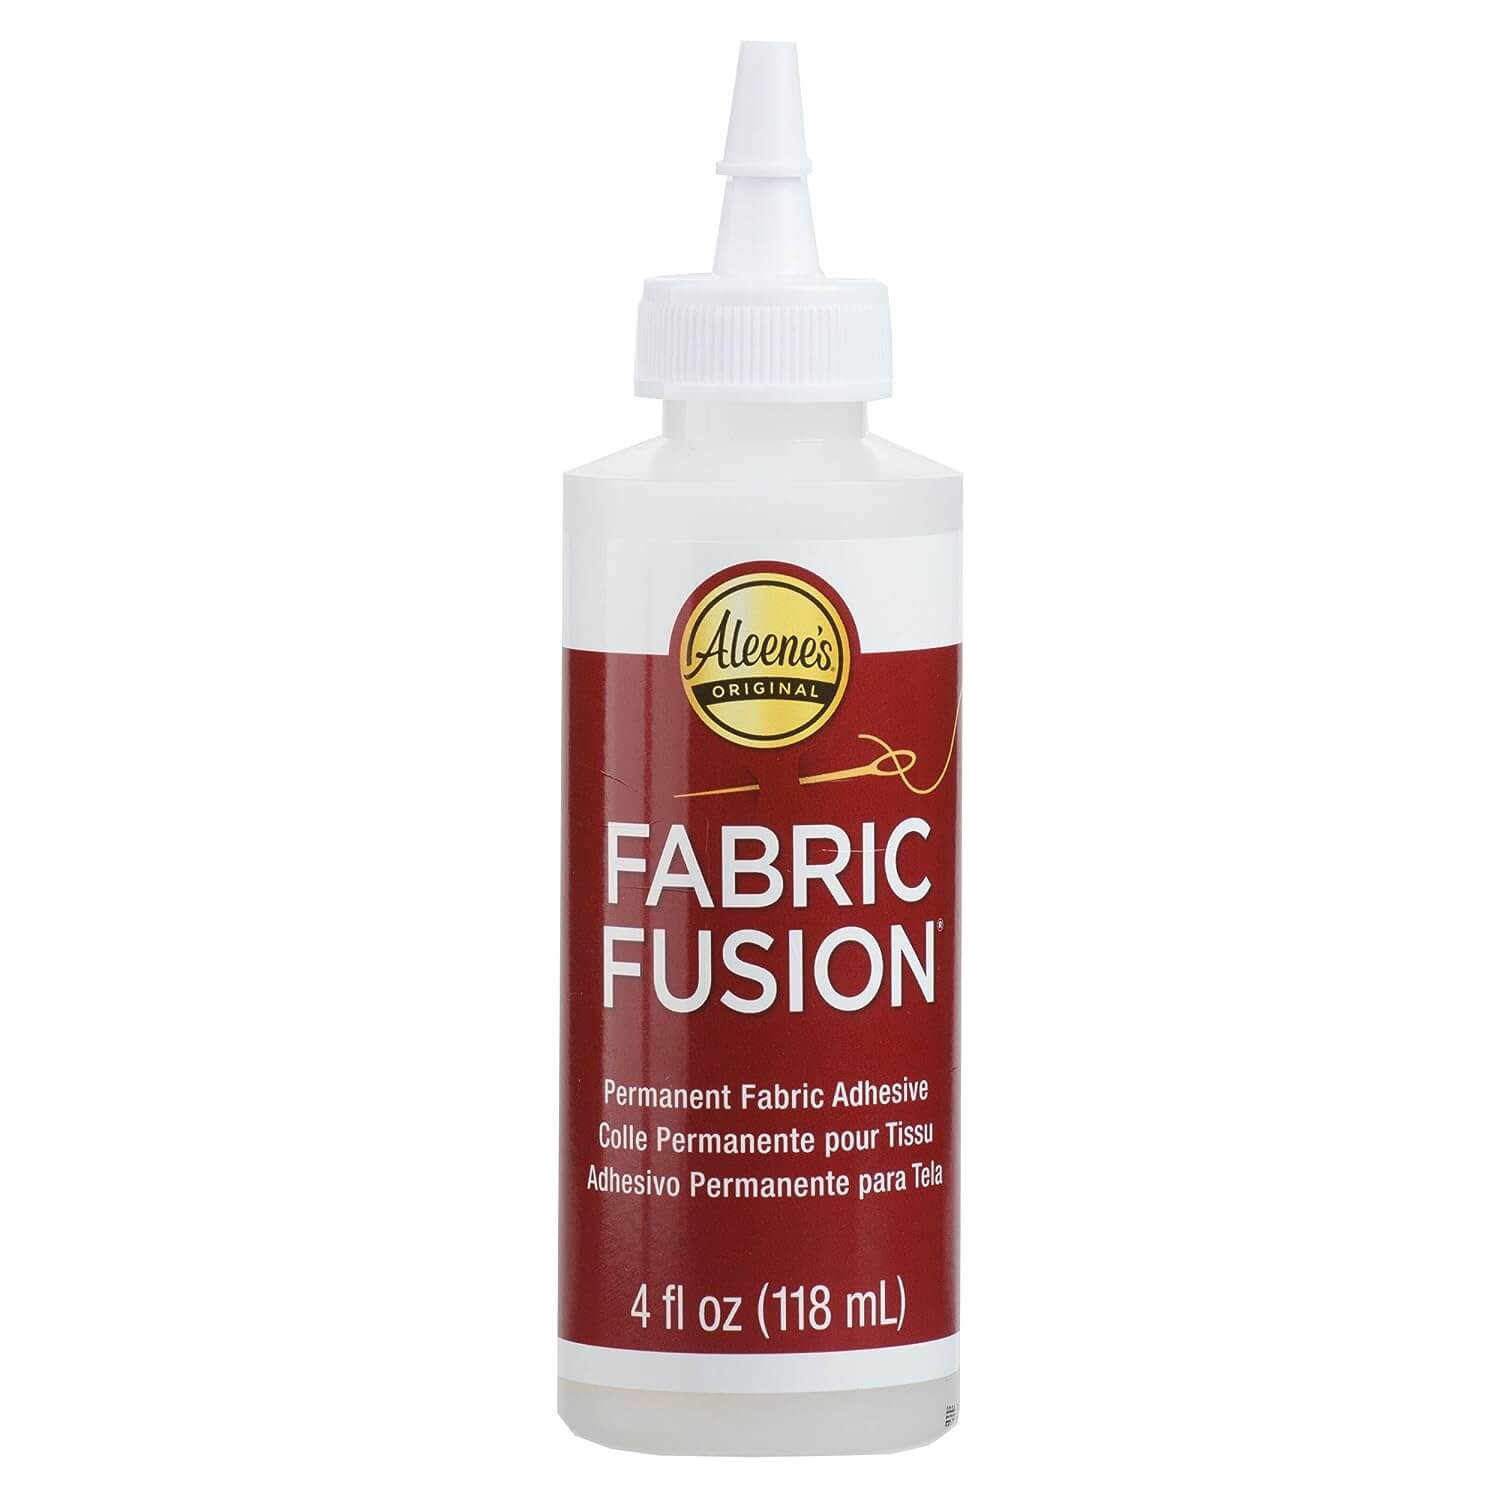
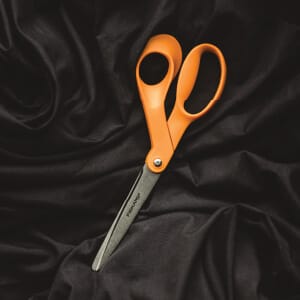
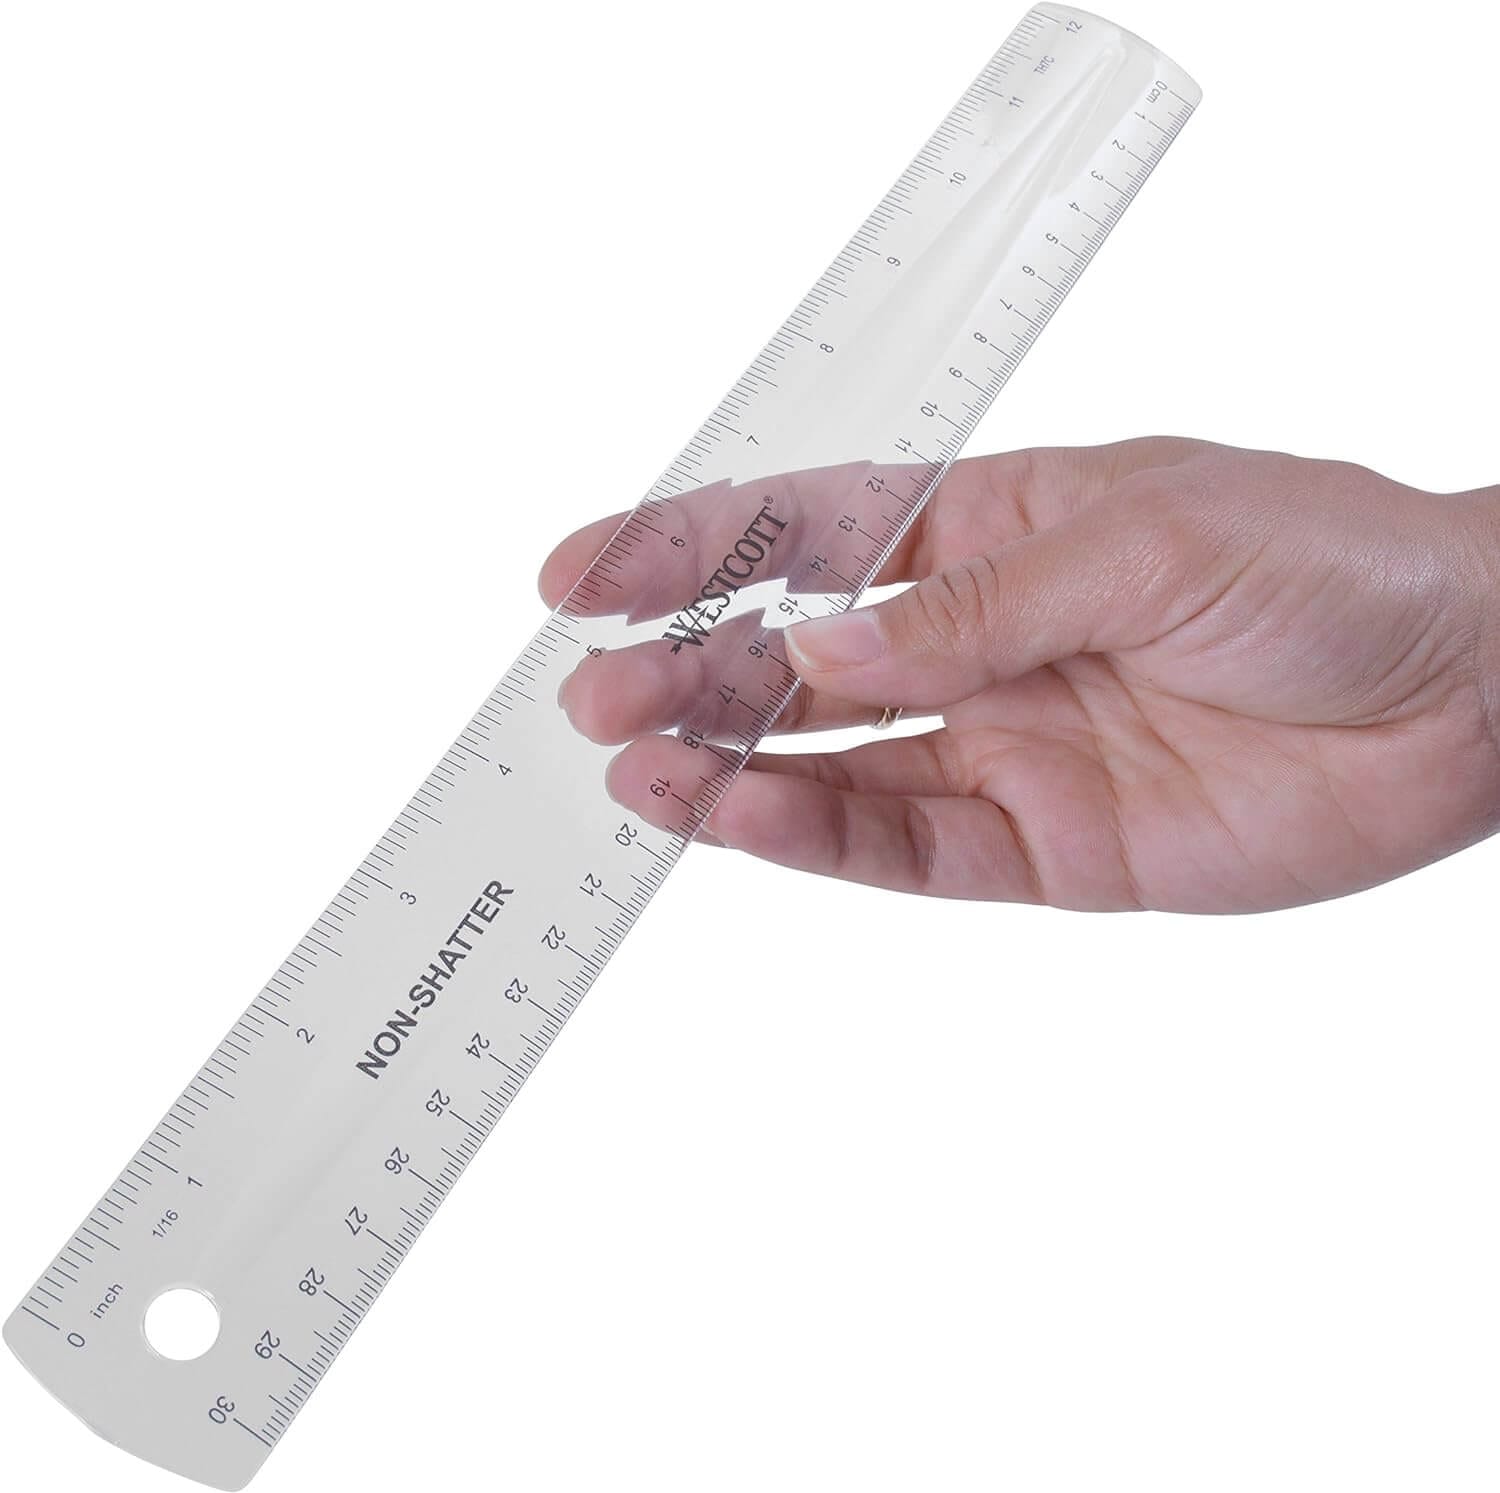
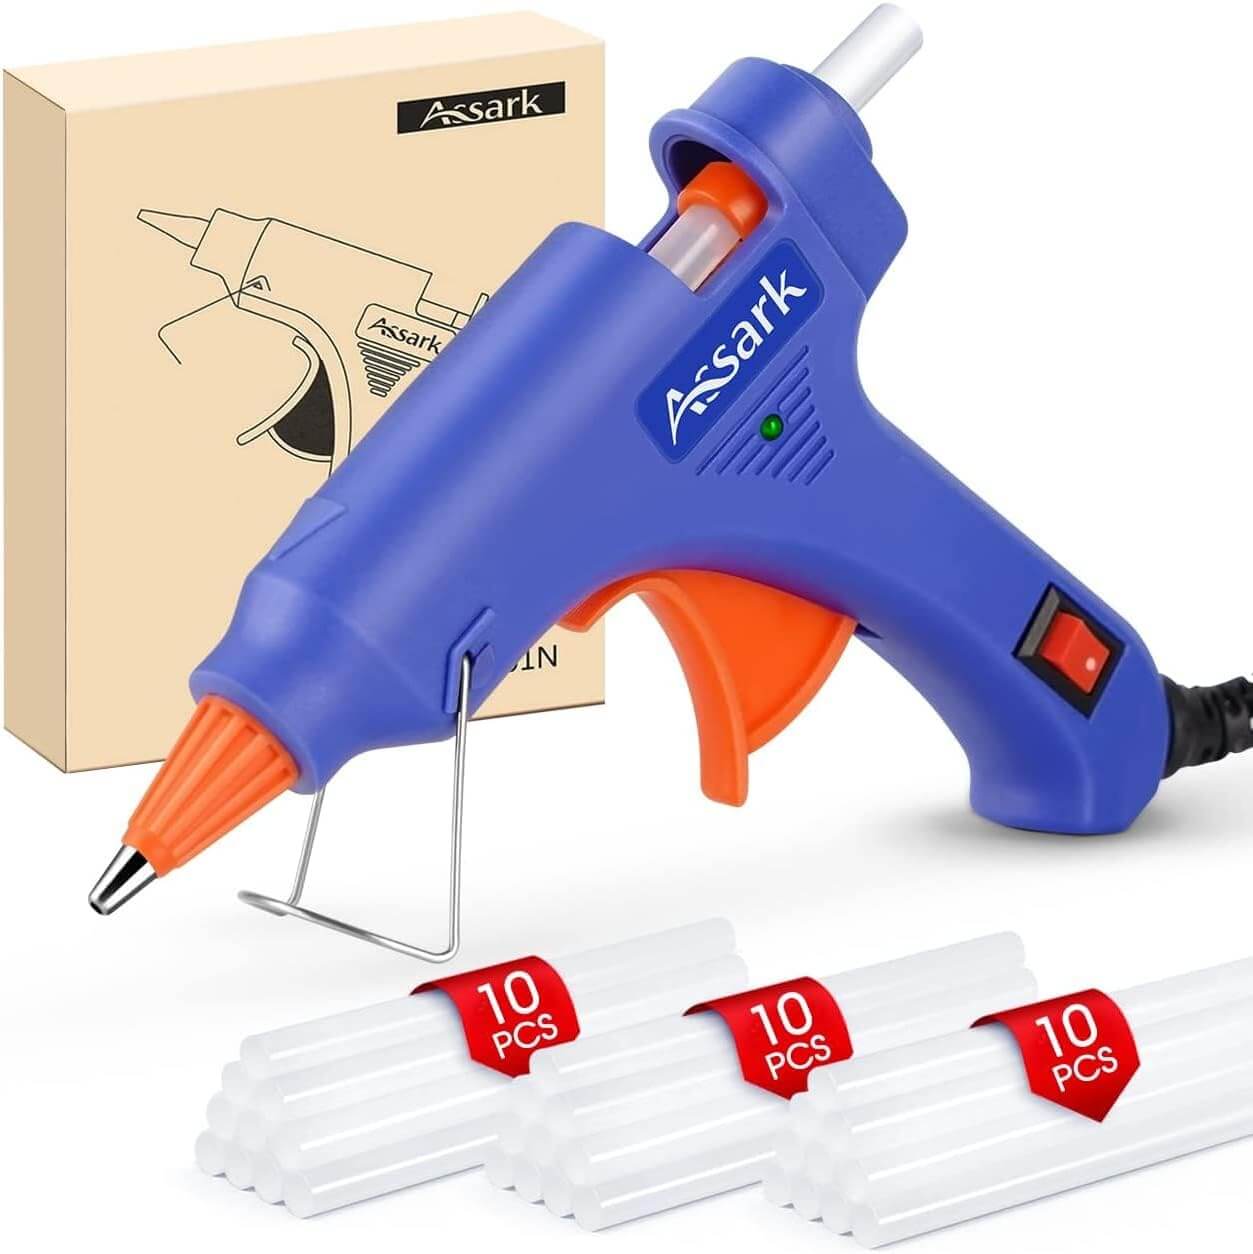
Other materials include fabric glue, a sewing machine (though hand-stitching is an optional alternative), scissors, a ruler, pins, and possibly a ribbon if you decide to add a decorative touch. Make sure you have all your supplies on hand to avoid any interruptions once you start crafting.
Preparing the Jeans
The first step is to prepare your jeans for the transformation. Lay them out on a flat surface, and use a ruler to measure and mark the area you'll be cutting. You'll want to cut out two large circles from the denim, which will form the top and bottom of your pillow.
The size of the circles will depend on how large you want your pillow to be, but a good rule of thumb is to measure about 16–18 inches in diameter for a standard donut pillow. Once you've marked your jeans, carefully cut out the circles with sharp scissors to ensure clean edges.
Cutting the Circles
After you've cut out the two denim circles, it's time to create the center hole that characterizes a donut pillow. Measure and mark the center of each denim circle, then draw a smaller circle around the center point.
A standard size for the inner circle is about 4-6 inches in diameter. Cut out the smaller circles, and you'll have the basic shape of your tailbone pillow ready to go.
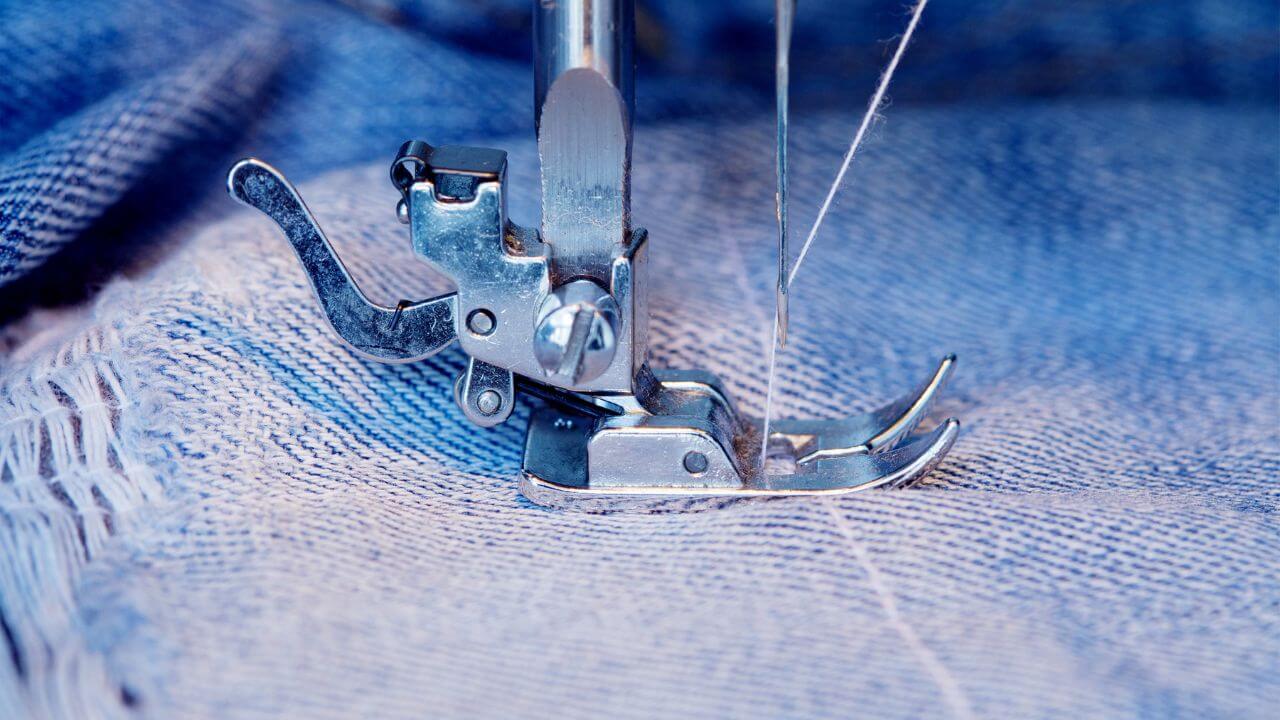
Sewing the Edges
Now, place the two denim circles right sides together, aligning the edges.
Pin them together to keep them in place as you sew. Using your sewing machine or needle and thread, stitch around the outer and inner edges of the circles, leaving a gap on the outer edge.
This gap will be used to flip the pillow right side out and add the stuffing. Be sure to backstitch at the beginning and end of your stitches to secure them.

Customizing Your Tailbone Pillow for Extra Comfort
Have you ever wondered how to make a butt pillow that not only serves its purpose but also cradles you for extra comfort? Let's dive into the world of customization, where a simple tweak can turn your DIY project into a personal haven.
By incorporating materials like a soft t-shirt or a plush fabric remnant, you can add a layer of coziness to your pillow. Imagine the sensation of sinking into a pillow that feels like a gentle hug for your tailbone. It's all about choosing the right fabric that speaks to your need for comfort.
When you decide to add that extra layer, consider the thickness and texture. A t-shirt, for instance, can provide a smooth and stretchy cover that adapts to your movements. If you're aiming for a firmer feel, you might opt for a denser fabric.
Remember, it's your creation, and every inch of it should reflect your personal preference for comfort. Don't be afraid to experiment with different materials until you find the perfect match that makes you love your tailbone pillow even more.
Exploring Alternative Fabrics for Your Tailbone Pillow
Have you ever considered repurposing that old t-shirt you can't bear to throw away? Well, it turns out that t-shirts can make an excellent fabric choice for your DIY tailbone pillow project.
They're soft, flexible, and pretty durable, which means they can add an extra layer of comfort to your creation. Plus, using a t-shirt can give your pillow a unique touch, especially if it's a shirt with sentimental value or a cool design.
In addition to the comfort factor, t-shirts are a fantastic way to introduce a variety of textures and colors to your pillows. If you're looking for additional information on how to incorporate different types of fabrics into your DIY projects, there are plenty of online resources and video tutorials available.
These can be found on various services and sites dedicated to crafting. Just remember to adjust your settings to ensure you're getting the most relevant content, and don't be surprised if you come across a few ads along the way; they help keep those helpful sites up and running!
Repurposing T-Shirts for Your Tailbone Pillow
When diving into the world of DIY, the versatility of materials can be a game-changer. If you're halfway through your tailbone pillow project and find yourself short on old jeans, don't fret! T-shirts can serve as an excellent alternative fabric.
Their soft texture and stretchability make them ideal for a comfortable cushion. Plus, using t-shirts adds a layer of personalization, as you can choose ones with designs that resonate with your style or hold sentimental value.
In addition to their comfort, t-shirts are a sustainable choice. By repurposing them, you're giving new life to clothing that might otherwise end up in a landfill. To use a t-shirt for your tailbone pillow, simply lay it flat and cut out two circles of the desired size.
If the t-shirt is not large enough to cover the entire area, consider sewing half of one shirt to half of another, creating a unique and colorful patchwork effect that will surely be a conversation starter.
Enhancing Your DIY with a Service Mindset
Creating a tailbone pillow from old jeans or t-shirts is not just a crafty endeavor; it can also be a service to others. Consider the joy you could bring by making and donating these pillows to a local charity, hospital, or nursing home.
Your handcrafted pillows could provide much-needed relief and comfort to individuals suffering from tailbone pain. This act of service not only enriches the lives of recipients but also adds a profound sense of purpose to your DIY project.
Moreover, sharing your skills and knowledge can be incredibly rewarding. Hosting a workshop or creating an online tutorial can help spread the joy of DIY tailbone pillows.
By teaching others how to repurpose their old clothing into something practical and cozy, you're not only fostering a community of crafters but also promoting sustainable living.
Your service-minded approach could inspire a ripple effect, leading to more creative recycling and a greater collective impact on the environment.
Enhancing Your DIY Project with Social Sharing
Once you've created your tailbone pillow, why not share it with the world? Social media platforms are a great place to showcase your handiwork. You could even start a contest on your page, inviting friends and followers to vote for their favorite designs.
This not only gives you a chance to show off your hard work but also engages your community in a fun and interactive way. Who knows, your pillow could inspire others to start their own DIY projects!
Sharing your creation online also opens up a realm of possibilities for feedback and additional tips. You might find someone suggesting a clever way to stuff your pillow more efficiently or recommending a site that offers high-quality, sustainable stuffing options.
Remember, when you share content online, you're also responsible for the privacy settings you choose. Make sure you understand how cookies and other tracking technologies work to protect your information while still enjoying the benefits of a connected, creative community.
Enhancing Your DIY Experience with Online Resources
In the age of information, additional data and tutorials are just a click away. If you're looking to improve your DIY skills or just need a little inspiration, the internet is brimming with resources. YouTube, for instance, is a treasure trove of videos that can guide you through each step of creating your tailbone pillow.
From cutting the corners to sewing the edges, there's a tutorial for every aspect of the process. Watching an expert at work can provide you with valuable insights and maybe even an idea or two to enhance your own project.
Moreover, joining a community of DIY enthusiasts can be incredibly rewarding. Many sites and forums offer the chance to share your creations, join contests, or simply watch and learn from others.
Not only does this protect you from feeling isolated in your crafting corner, but it also opens up a world of possibilities to improve and personalize your DIY experience.
Whether you're a seasoned crafter or have just decided to pick up a needle and thread, there's a community out there ready to welcome you with open arms and endless inspiration.
Adding the Stuffing
Once you've sewn the edges, carefully flip the pillow right side out through the gap you left. Iron the edges if necessary to give your pillow a crisp, professional look. Now, it's time to add the pillow stuffing.
Gradually fill the pillow, making sure to distribute the stuffing evenly to avoid any lumps. Fill it until it reaches your desired firmness, keeping in mind that the pillow should be firm enough to support your tailbone but still comfortable to sit on.
Closing the Pillow
After stuffing your pillow to satisfaction, it's time to close the gap. You can do this by hand-stitching for a seamless look or using fabric glue for a no-sew option.
If you're sewing, use small, tight stitches to ensure the stuffing stays inside. If you're using fabric glue, apply it carefully along the edge and press firmly until it sets.
Allow the glue to dry completely before using the pillow.
Personalizing Your Pillow
This is where your creativity can shine. Personalize your tailbone pillow by adding decorative elements like a ribbon around the center to mimic a donut's icing or embroidering your initials on one side.
You can also use fabric paint to add patterns or designs. This step is entirely optional but can add a fun and unique touch to your project.
Caring for Your Tailbone Pillow
To keep your homemade pillow looking its best, it's important to care for it properly. If you've used a sewing machine, you can usually machine wash the pillow on a gentle cycle.
If you've opted for fabric glue, spot cleaning is recommended. Always check the care instructions for the specific materials you've used to ensure you don't damage your pillow.
Sharing Your Creation
Once you've completed your tailbone pillow, why not show it off? Share pictures of your finished project on social media platforms like Instagram or Facebook.
You might even inspire others to try their hand at this craft. Joining online communities or forums dedicated to crafts can also be a great way to connect with others who share your passion for DIY projects.
Summary
Creating a tailbone pillow from old jeans is not only a fantastic way to upcycle but also provides you with a custom, comfortable cushion that protects your tailbone.
This project is super easy, requires basic sewing skills or the use of fabric glue, and can be personalized to your taste.
With the right materials and a bit of creativity, you can turn an old pair of jeans into a functional and adorable addition to your home.
FAQ Section
Do I need advanced sewing skills to make a tail-bone pillow?
Not at all! This project is suitable for beginners. You can use a sewing machine for a quicker process or hand-stitch if you're more comfortable with that. Fabric glue is also an option for a no-sew pillow.
How do I ensure my pillow stuffing doesn't create lumps?
Add the stuffing gradually and distribute it evenly as you fill the pillow. Use your hands to break up any clumps and adjust the stuffing until you're happy with the shape and firmness.
Can I wash my tailbone pillow if it gets dirty?
Yes, if you've sewn your pillow, you can typically machine wash it on a gentle cycle. If you've used fabric glue, spot cleaning is recommended. Always check the care instructions for the materials you've used.
You may also like...
 Ashton Tucker
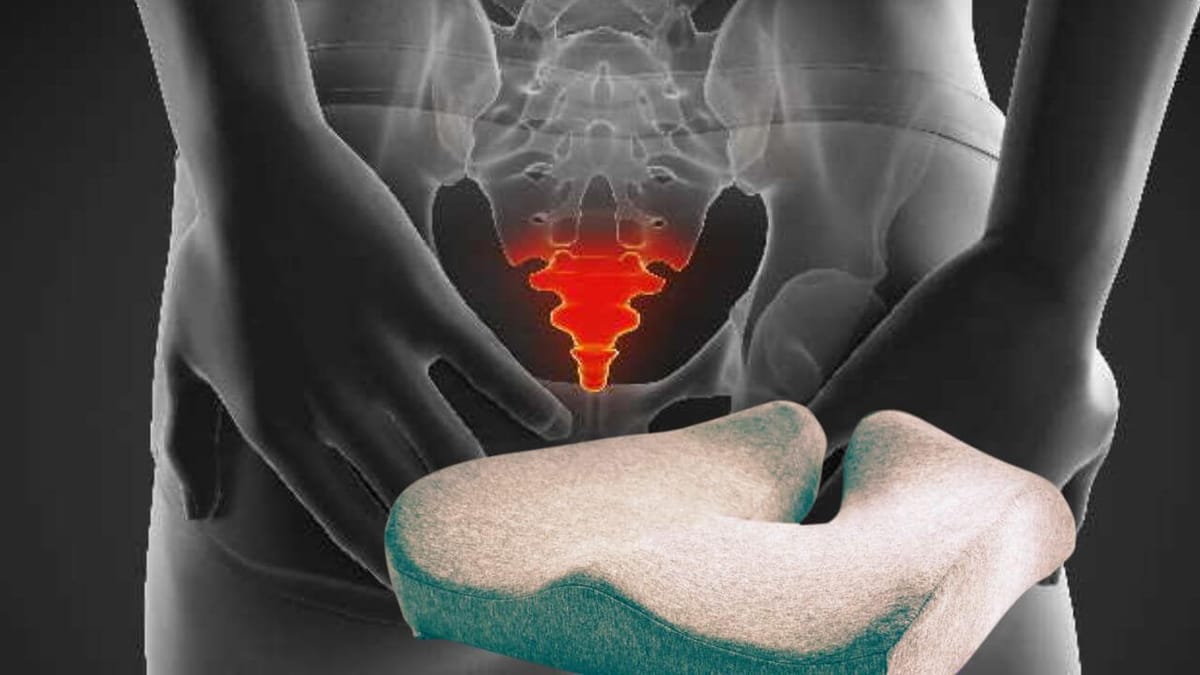 Ashton Tucker
 Ashton Tucker
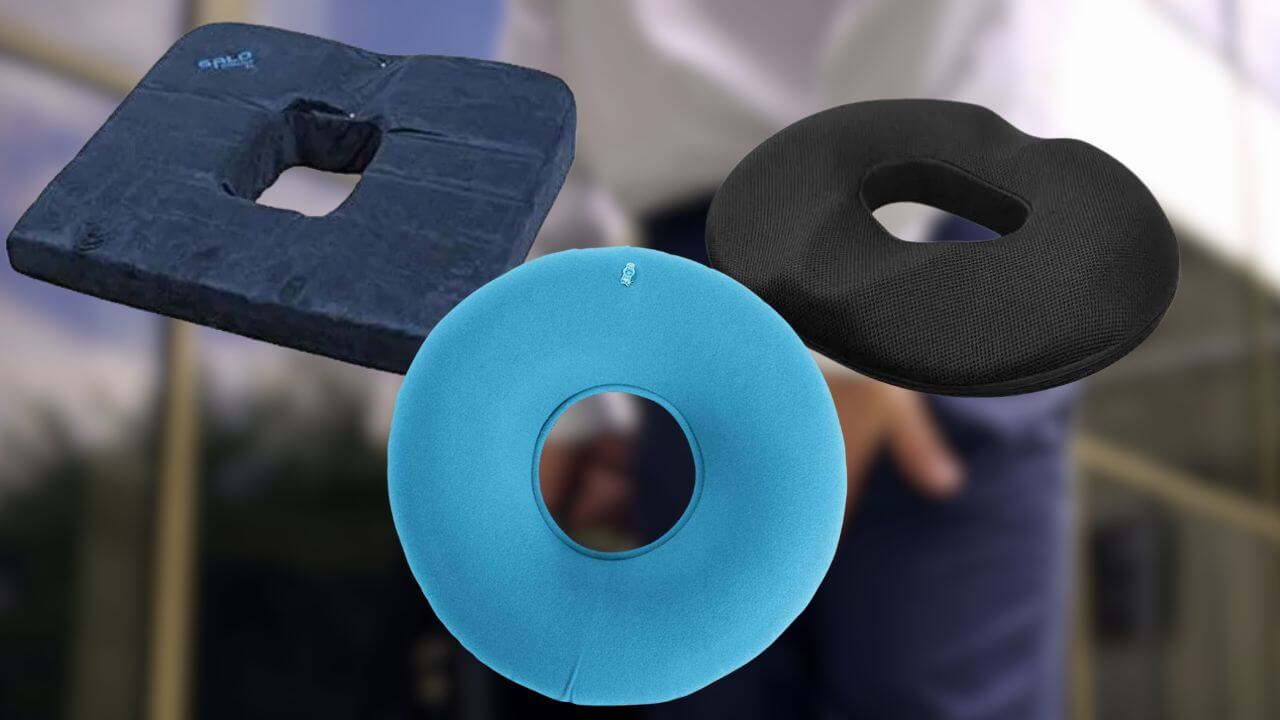 Ashton Tucker