
Introduction
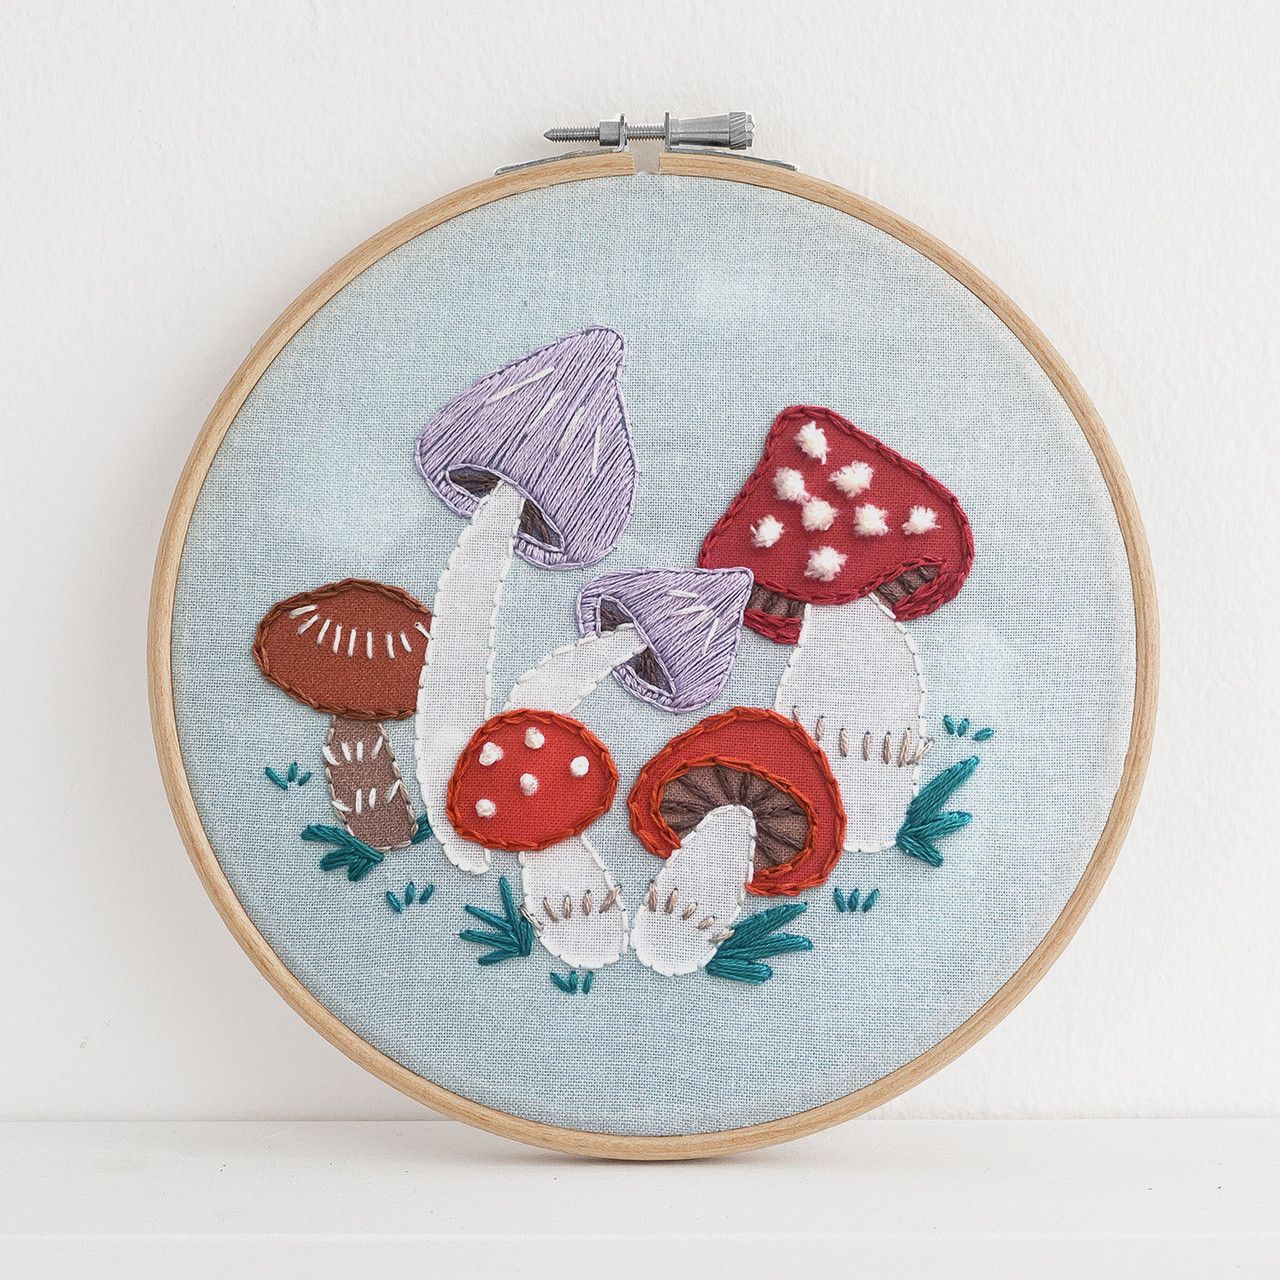
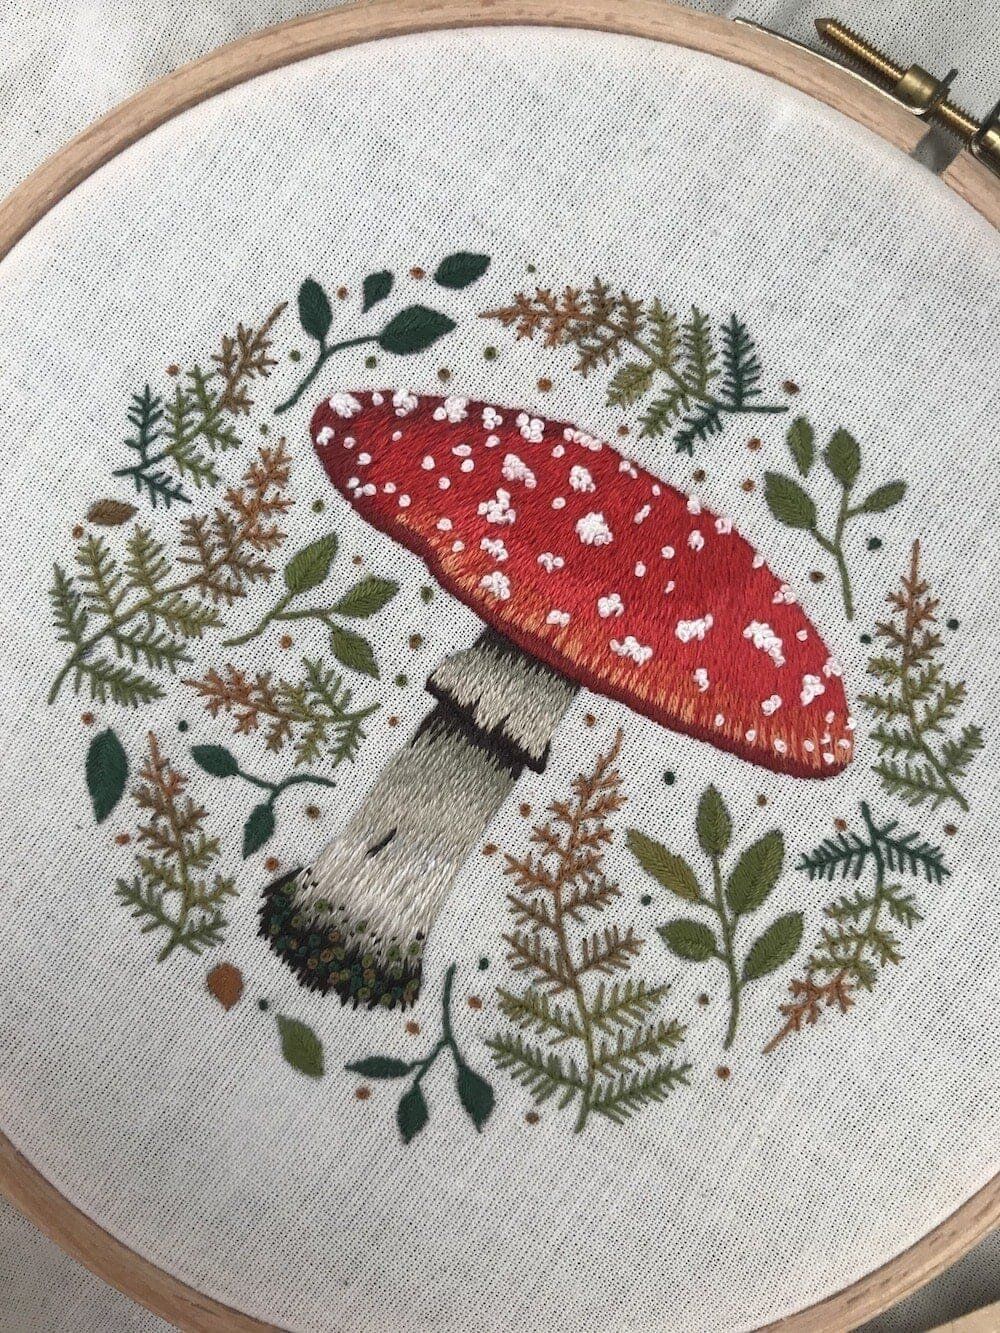
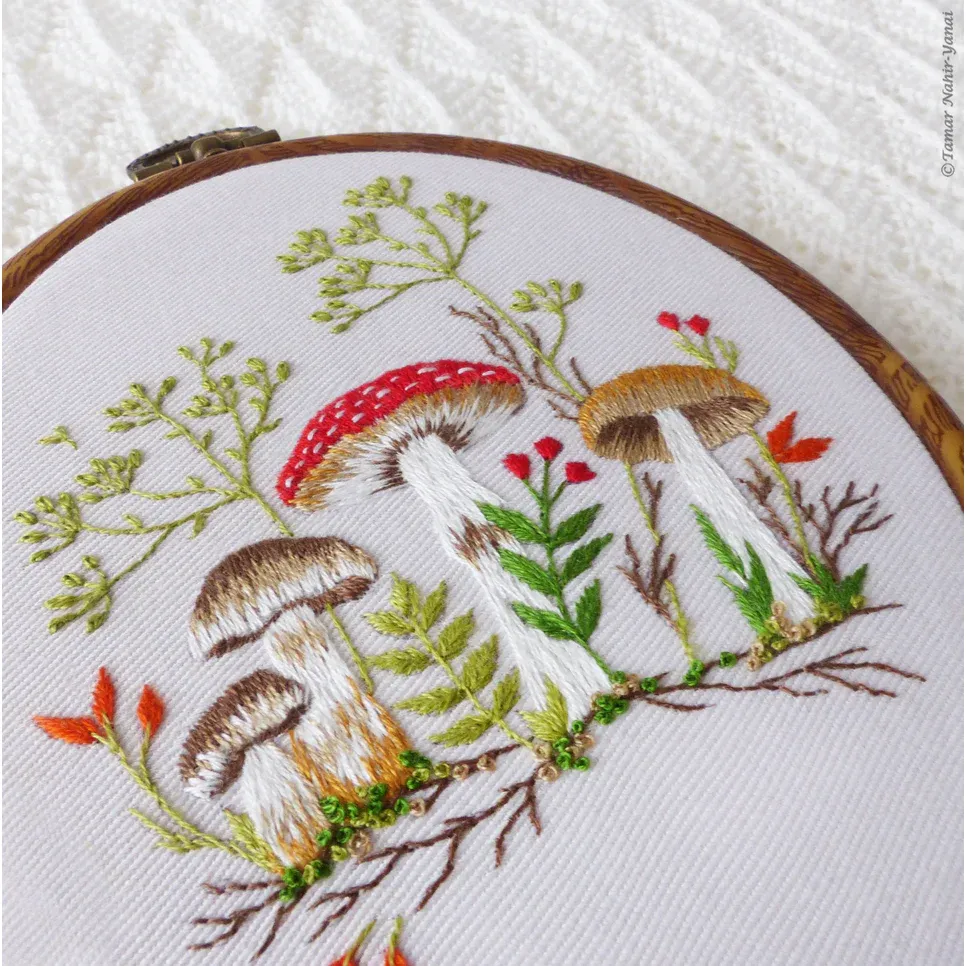
Embark on a magical journey with mushroom embroidery art - an enchanting craft that allows you to bring fungi to life through fabric. Whether you're experienced or just starting out in the world of needlework this Learn Mushroom Embroidery Art: a step-by-step guide for stunning results will provide all the knowledge and skills necessary for creating great pieces inspired by these fascinating organisms. So let us begin our adventure together; before long we’ll be masters at producing beautiful works featuring these intricate creatures!
Mushroom Embroidery Basics
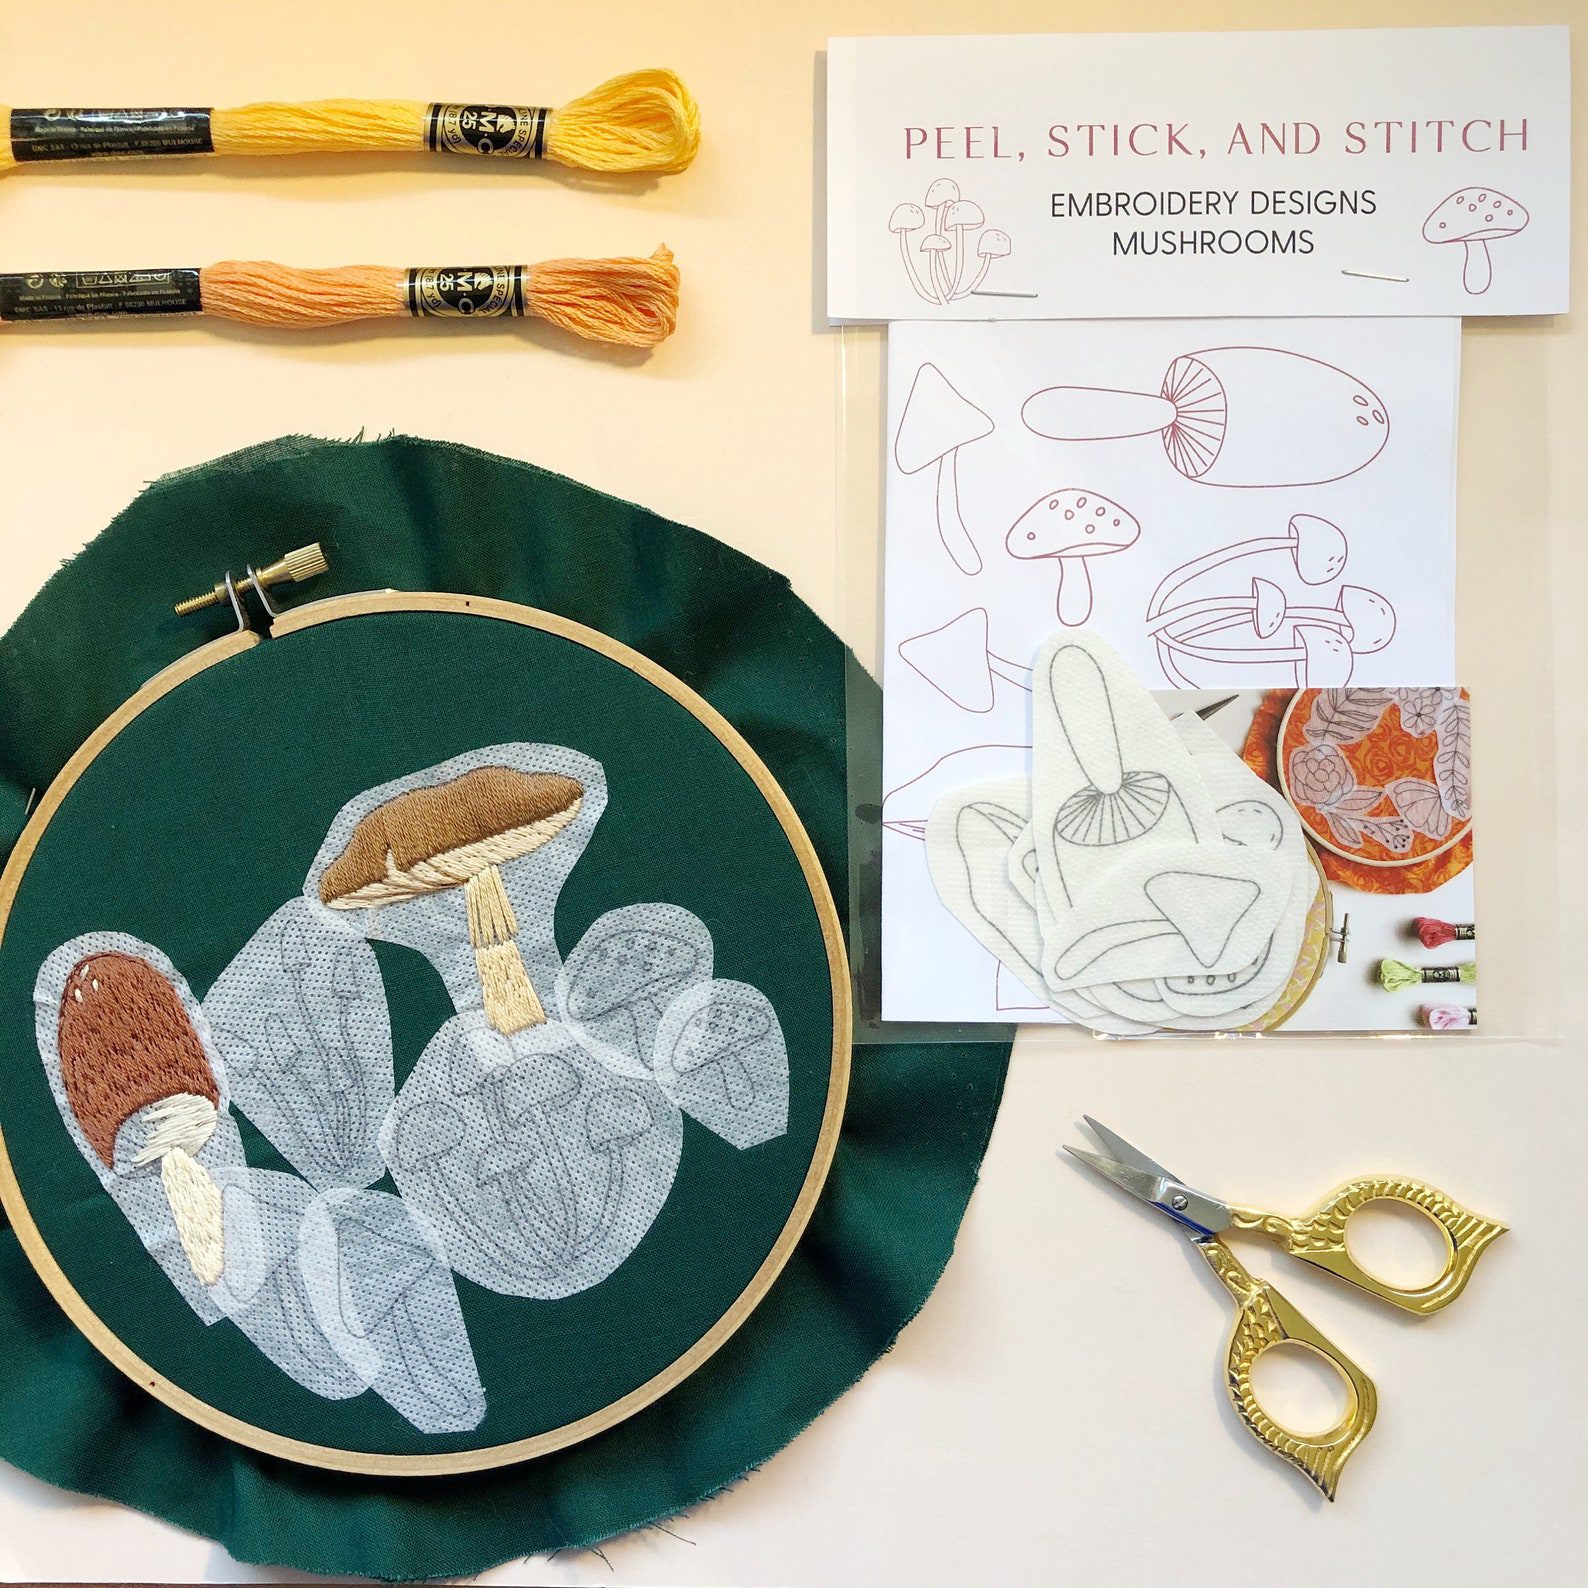
Gathering Your Supplies
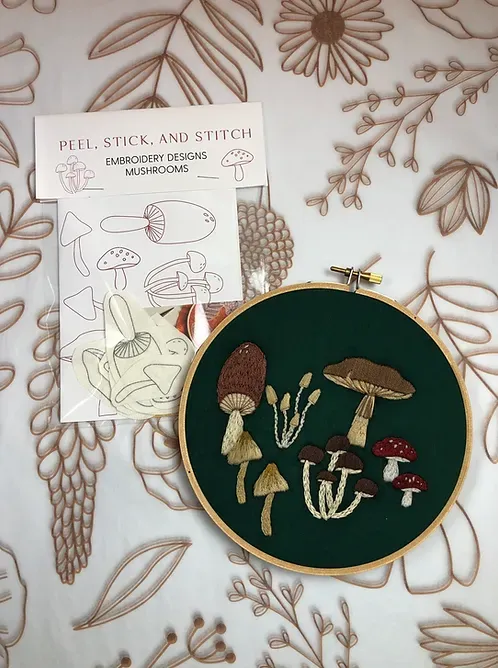
It's imperative to gather the appropriate materials before we enter into the world of mushroom embroidery. The items you'll need are listed below:
- Embroidery hoop
- Fabric
- Embroidery floss in various colors
- Embroidery needles
- Scissors
- Mushroom-themed embroidery patterns
- Water-soluble fabric marker
- Thimble (optional but recommended)
Choosing the Right Fabric
The correct cloth must be chosen in order for embroidery to be successful. Choose natural fabrics like cotton or linen since they are simple to work with and hold embroidered stitches effectively.
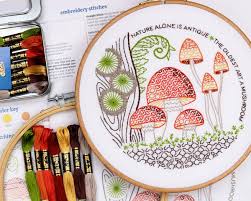
Exploring Mushroom Embroidery Patterns
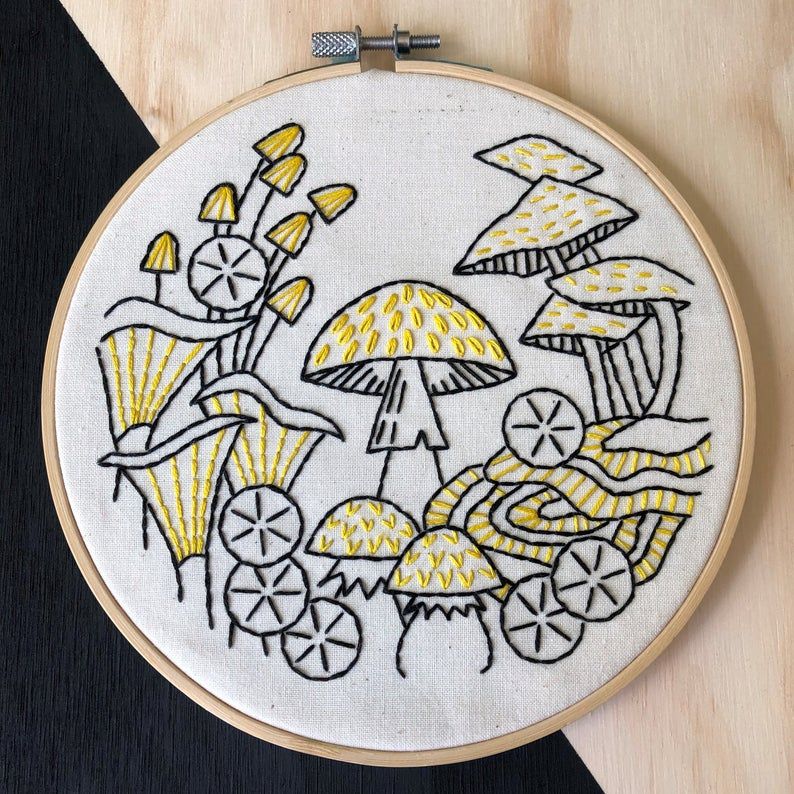
Online retailers offer a huge selection of embroidery patterns with a mushroom theme. Pick one that suits your preferences and sense of style, or make your own for a more unique touch.
Getting Started: Your First Stitches
Securing the Fabric
1. Prepare Your Hoop: Place your fabric in the embroidery hoop, ensuring it's taut but not overly stretched.
2. Threading the Needle: Thread your embroidery needle with a color that matches your chosen mushroom.
The Running Stitch
The running stitch is one of the most basic embroidery stitches and serves as a foundation for many other techniques.
How to Do a Running Stitch:
Simply push the needle up through the fabric, then pull it back down, creating a straight stitch. Repeat this process, spacing your stitches evenly along the mushroom outline.
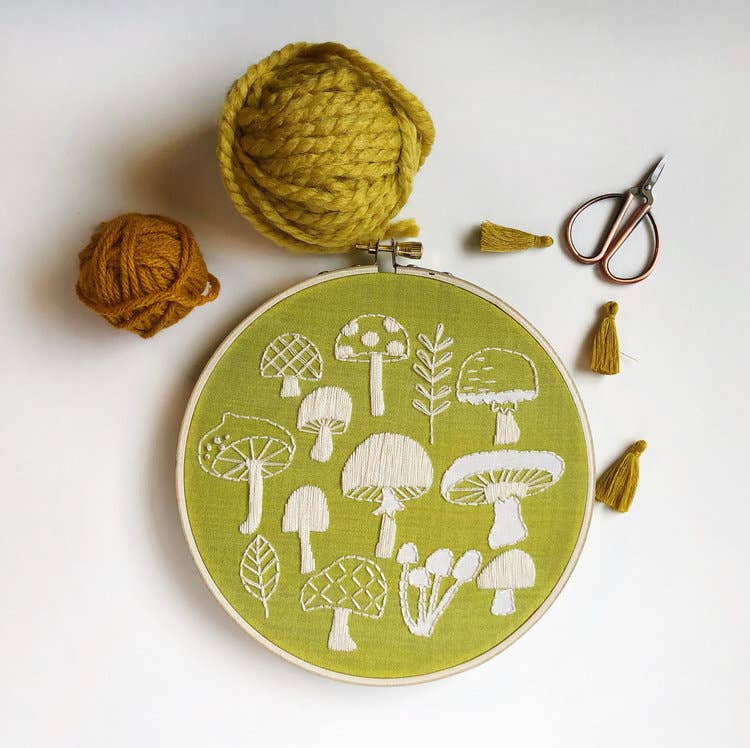
Adding Depth with the Satin Stitch
The satin stitch is ideal for filling in larger areas of your mushroom design.
How to Do a Satin Stitch:
1. Bring the needle up at the edge of the area to be filled.
2. Insert the needle back down on the opposite edge, creating a straight stitch.
3. Repeat this process, making sure each new stitch lies next to the previous one, until the entire area is filled.
Advanced Techniques: Adding Detail and Texture
The French Knot
French knots add delightful texture to your mushroom art.
How to Make a French Knot:
1. Bring the needle up through the fabric at the desired location.
2. Wind the embroidery floss around the needle a few times.
3. Carefully insert the needle back into the fabric next to where it emerged, holding the floss taut.
4. Gently pull the needle through to create a knot.
Incorporating Shading with the Long and Short Stitch
The long and short stitch is perfect for creating realistic shading on your mushroom embroidery.
How to Execute the Long and Short Stitch:
1. Start with a row of long stitches for the base color.
2. Overlap shorter stitches on top to create a shaded effect.
Troubleshooting and Tips
Dealing with Tangled Thread
Tangled thread can be frustrating. To avoid it, use a thread conditioner like beeswax and keep your working area organized.
Maintaining Consistency
Consistency in stitch length and tension is vital for a polished look. Practice on a scrap fabric before working on your main project.
Experimenting with Colors
Don't be afraid to try with different color combinations to produce one-of-a-kind and striking mushroom art.
Frequently Asked Questions
Q: How long does it take to become proficient in mushroom embroidery?
A: The time required for mastering this art form varies from person to person. However with consistent practice and dedication one can create stunning pieces within a few weeks or so.
Q: Where do I find patterns for my next project?
A: There are plenty of options available when searching for inspiration! You could start by browsing through craft websites, social media platforms as well as traditional embroidery books filled with beautiful designs waiting to be brought alive on fabric.
Q: Can I wash the finished product without damaging its quality?
A: Yes - but handle your creation gently during cleaning process. Handwash using cold water mixed with mild detergent avoid wrinkling or twisting the material at all costs. This will help maintain its beauty over time while keeping it looking freshly made.
Q: What's the best way to frame my finished mushroom embroidery?
A: Consider framing your art in a hoop or a shadow box to display your work elegantly.
Q: Are there any specific safety tips for mushroom embroidery?
A: Use a thimble to shield your fingertips from pricks when handling needles.
Q: How can I make my mushroom embroidery more distinctive?
A: Customize your design by incorporating your favorite mushroom species or by adding initials or a special date.
Conclusion
Learning mushroom embroidery art can be an exhilarating experience that offers immense satisfaction. With the right tools and techniques at your disposal along with a dash of creativity you'll soon create stunning pieces inspired by these fascinating fungi. So why wait? Grab those needles and threads and start exploring this unique form of expression today!
Thanks for reading and happy stitching!
You May Also Like...
 Ashton Tucker
 Ashton Tucker