
If you're a crossbow enthusiast, you know that having an accurate and reliable scope can make all the difference when it comes to hitting your target. However, even the best scopes require proper adjustment in order to achieve optimal accuracy. In this post, we'll focus on how to set up a crossbow and adjust the left setting on a crossbow scope.
Crossbow Setup
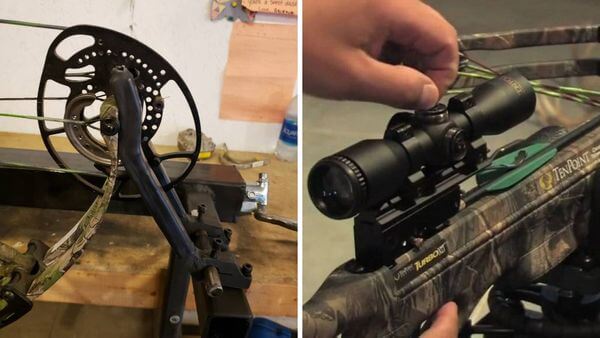
Before you begin adjusting your scope, it's important to make sure that your crossbow is properly set up and ready to shoot. This includes checking a number of things that are critical for scope adjustment.
Properly tensioning a bowstring is crucial for maintaining the accuracy, safety, and longevity of your bow. Here's a step-by-step guide to help you properly tension your bowstring:
Check for Wear and Tear
Before you begin, inspect your bowstring for any signs of wear or damage. Look for frayed fibers, broken strands, or other signs of wear that could weaken the string. If you notice any damage, replace the string before attempting to tension it.
Determine the Correct Length
To determine the correct length for your bowstring, measure the distance between the two string grooves on your bow. Add an extra inch or two to this measurement to allow for stretching and settling.
Install the String
Install the string by slipping one end into each groove on your bow. Make sure that the string is centered and evenly distributed across both limbs.
Use a Bow Press
Using a specialized tool called a bow press, compress the limbs of your bow until they flex inward slightly. This will reduce tension on the string and make it easier to adjust.
Adjust Brace Height
Adjusting brace height refers to adjusting how far away from the grip of the handle is from where it meets with the string. Brace height can be adjusted using either twists at each end of cables or twisting/un-twisting strings themselves (depending on which type of cam system is used). Check manufacturer recommendations when making these adjustments.
Release Pressure
Slowly release pressure on your bow press until it's no longer compressing your limbs. This should leave you with a properly tensioned bowstring that's ready to use.
Properly tensioning a bowstring requires precision and care. By following these steps carefully and taking time to ensure that everything is aligned properly, you can maintain optimal accuracy and safety while shooting. Now let's get on with adjusting the left setting of the scope.
Establish a Baseline
Once your crossbow is ready, establish a baseline by firing several shots at a stationary target from a fixed distance. Take note of where each shot lands in relation to the center of the target.
Determine Which Way to Adjust
If your shots are consistently landing too far to the left of center, you'll need to adjust your scope accordingly. Look for two small screws located on either side of the scope and use a screwdriver to loosen them slightly. Be careful not to loosen them too much or they could fall out.
Adjusting the Left Setting
To adjust the left setting on your crossbow scope, turn the screw located on the right side of the scope clockwise by one click at a time until you reach your desired point of impact. Each click will move your point of impact approximately 1/8 inch at 20 yards.
Fine-tuning
After making initial adjustments, fire several more shots at your target from various distances and angles to fine-tune your aim. You may need to repeat steps three and four multiple times until you achieve optimal accuracy.
In conclusion, adjusting the left setting on a crossbow scope requires patience and attention to detail. By following these steps carefully and taking time to fine-tune your aim, you can improve your accuracy and take your crossbow shooting skills to new heights!
Now you should be ready for a new scope. Tap the button for our article on the best crossbow scopes now available.
Thanks for reading, and aim accurately!